PROCESS
Steps 1-5: Brainstorm to Color
1. BRAINSTORM: First, I sketch, drawing anything and everything that pops into my mind. After I’ve got some ideas down, I pare things down and circle the designs I think will work the best.
2. DRAW: I draw designs full-size on paper. Because the plastic sheets shrink to about 1/3 their original size, I’m drawing things large! I am getting better at estimating how big it will be when it comes out of the oven, but I still mess up and often have to toss pieces that I made too big (or too small).
3. SAND: Next, I sand the plastic sheets with a fine-grit sandpaper, making sure to sand in multiple directions to create a uniformly gritty surface.
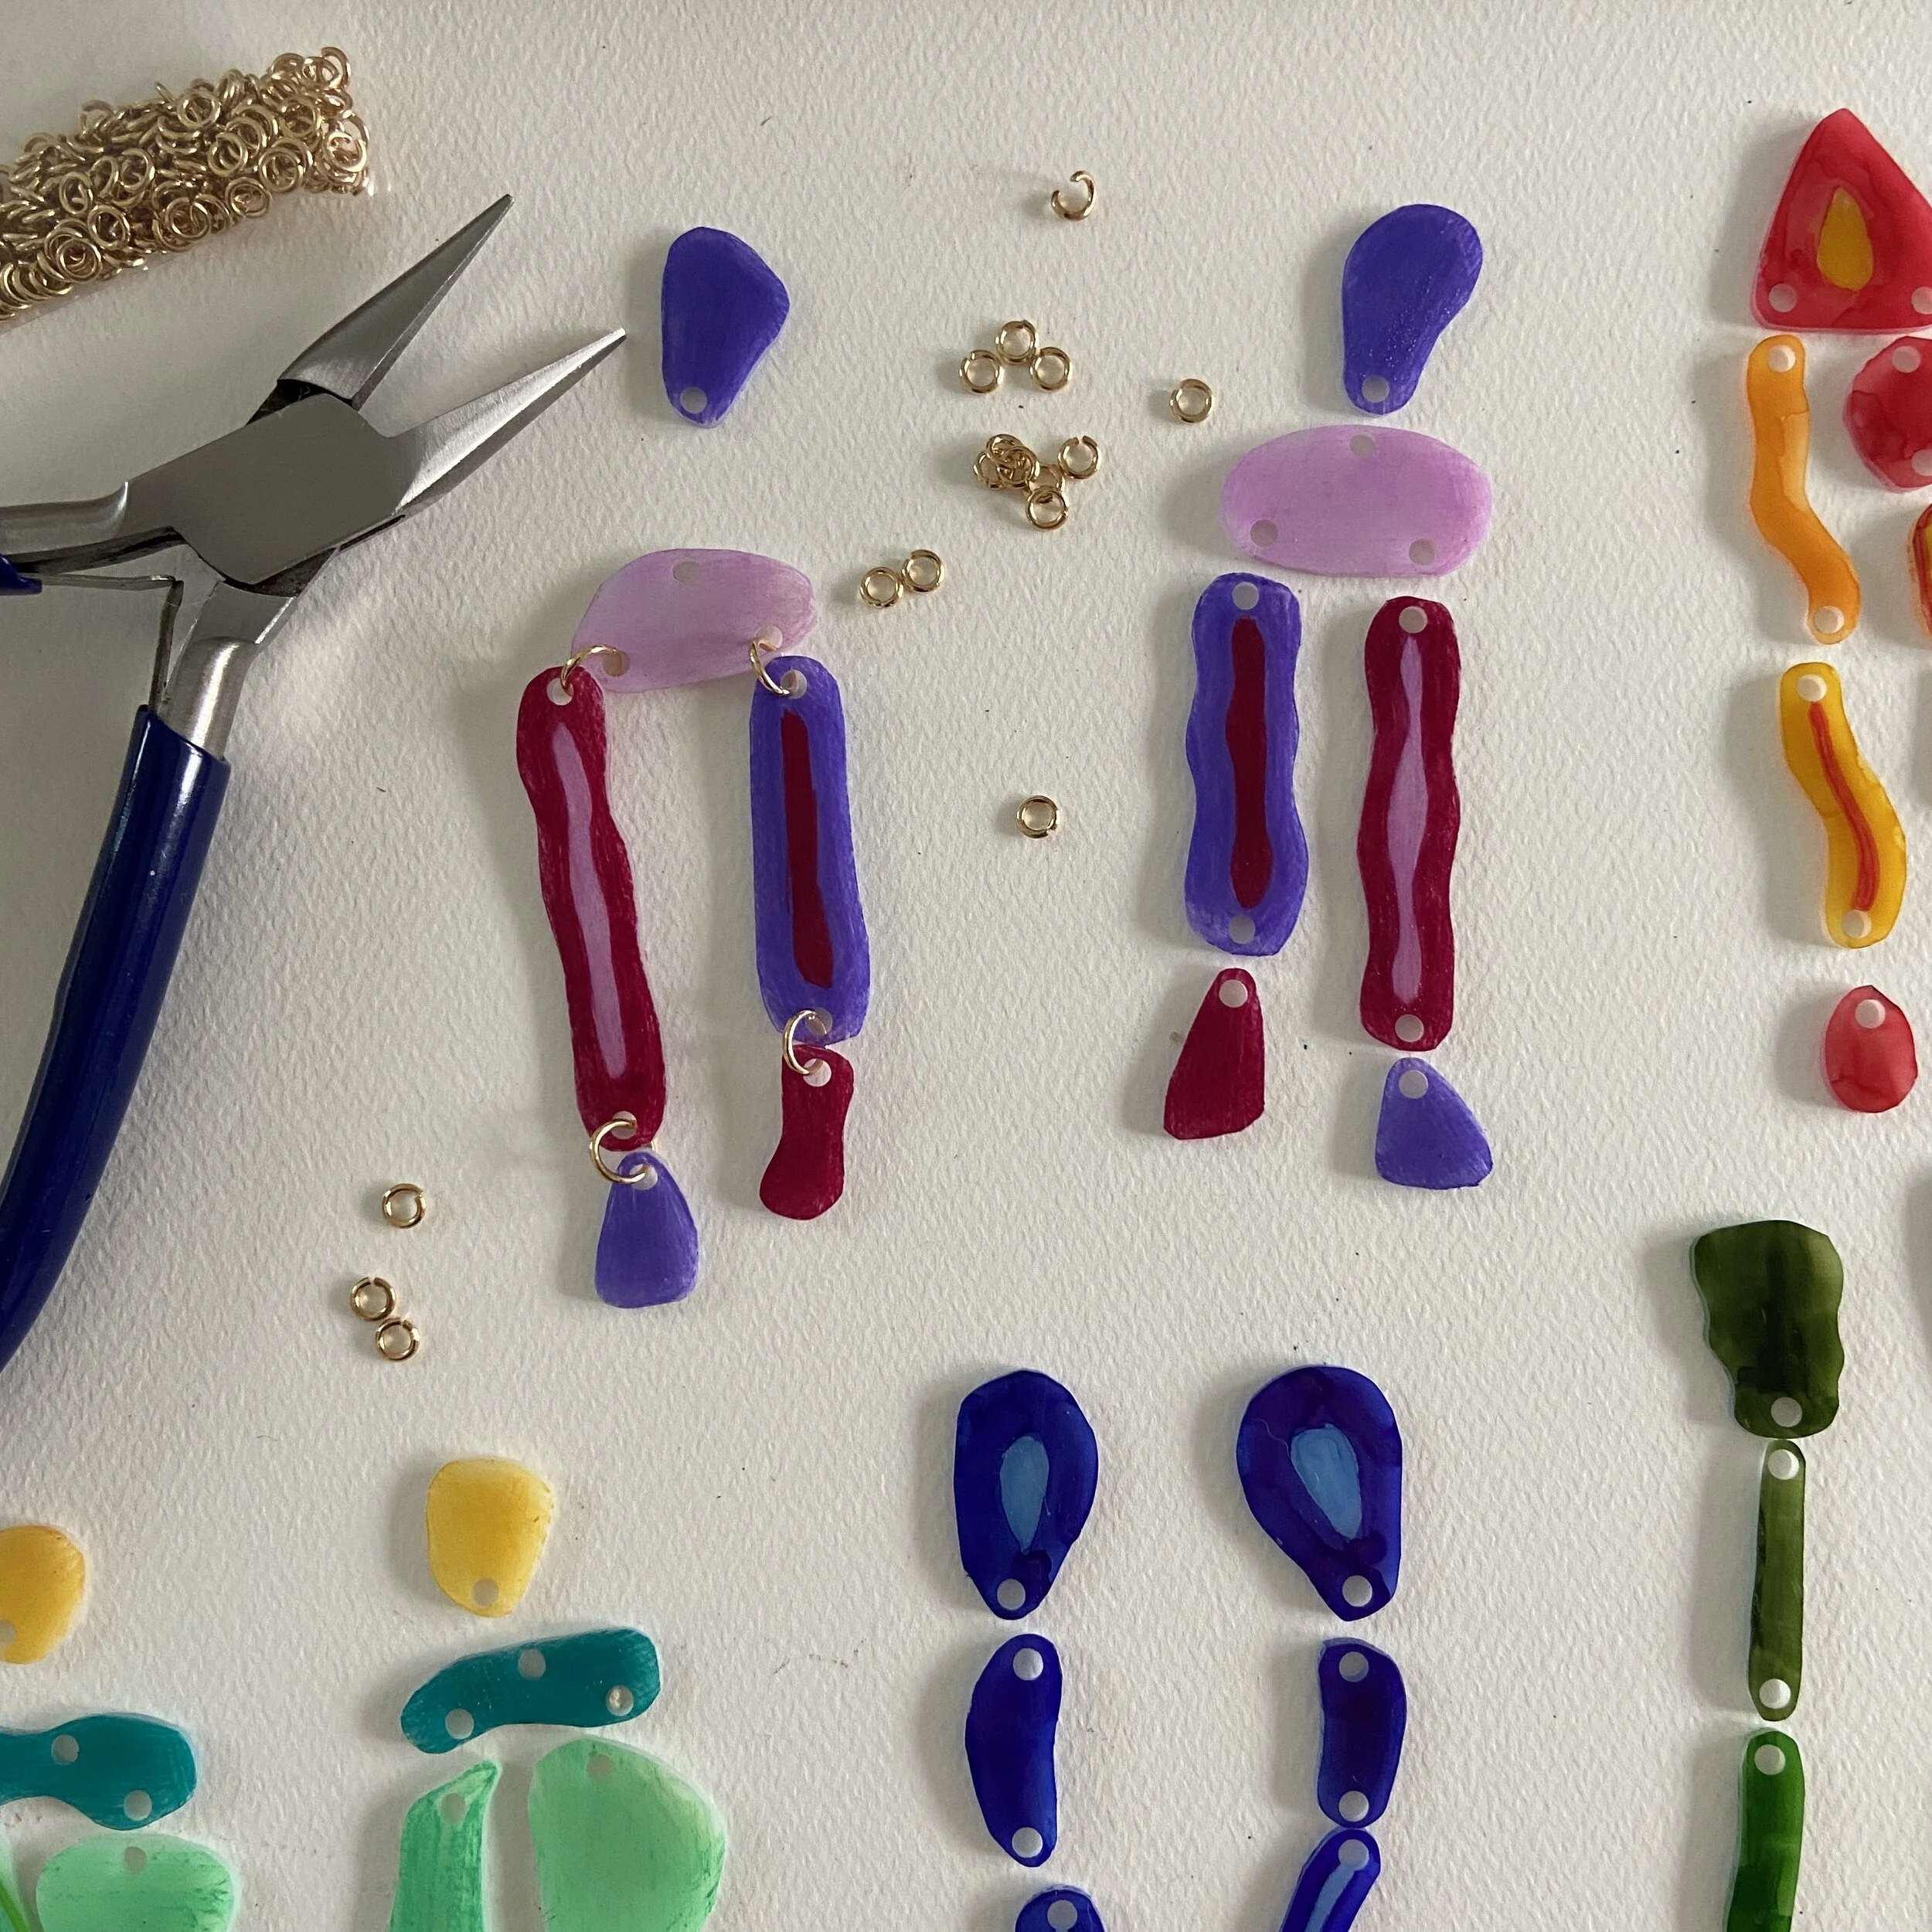
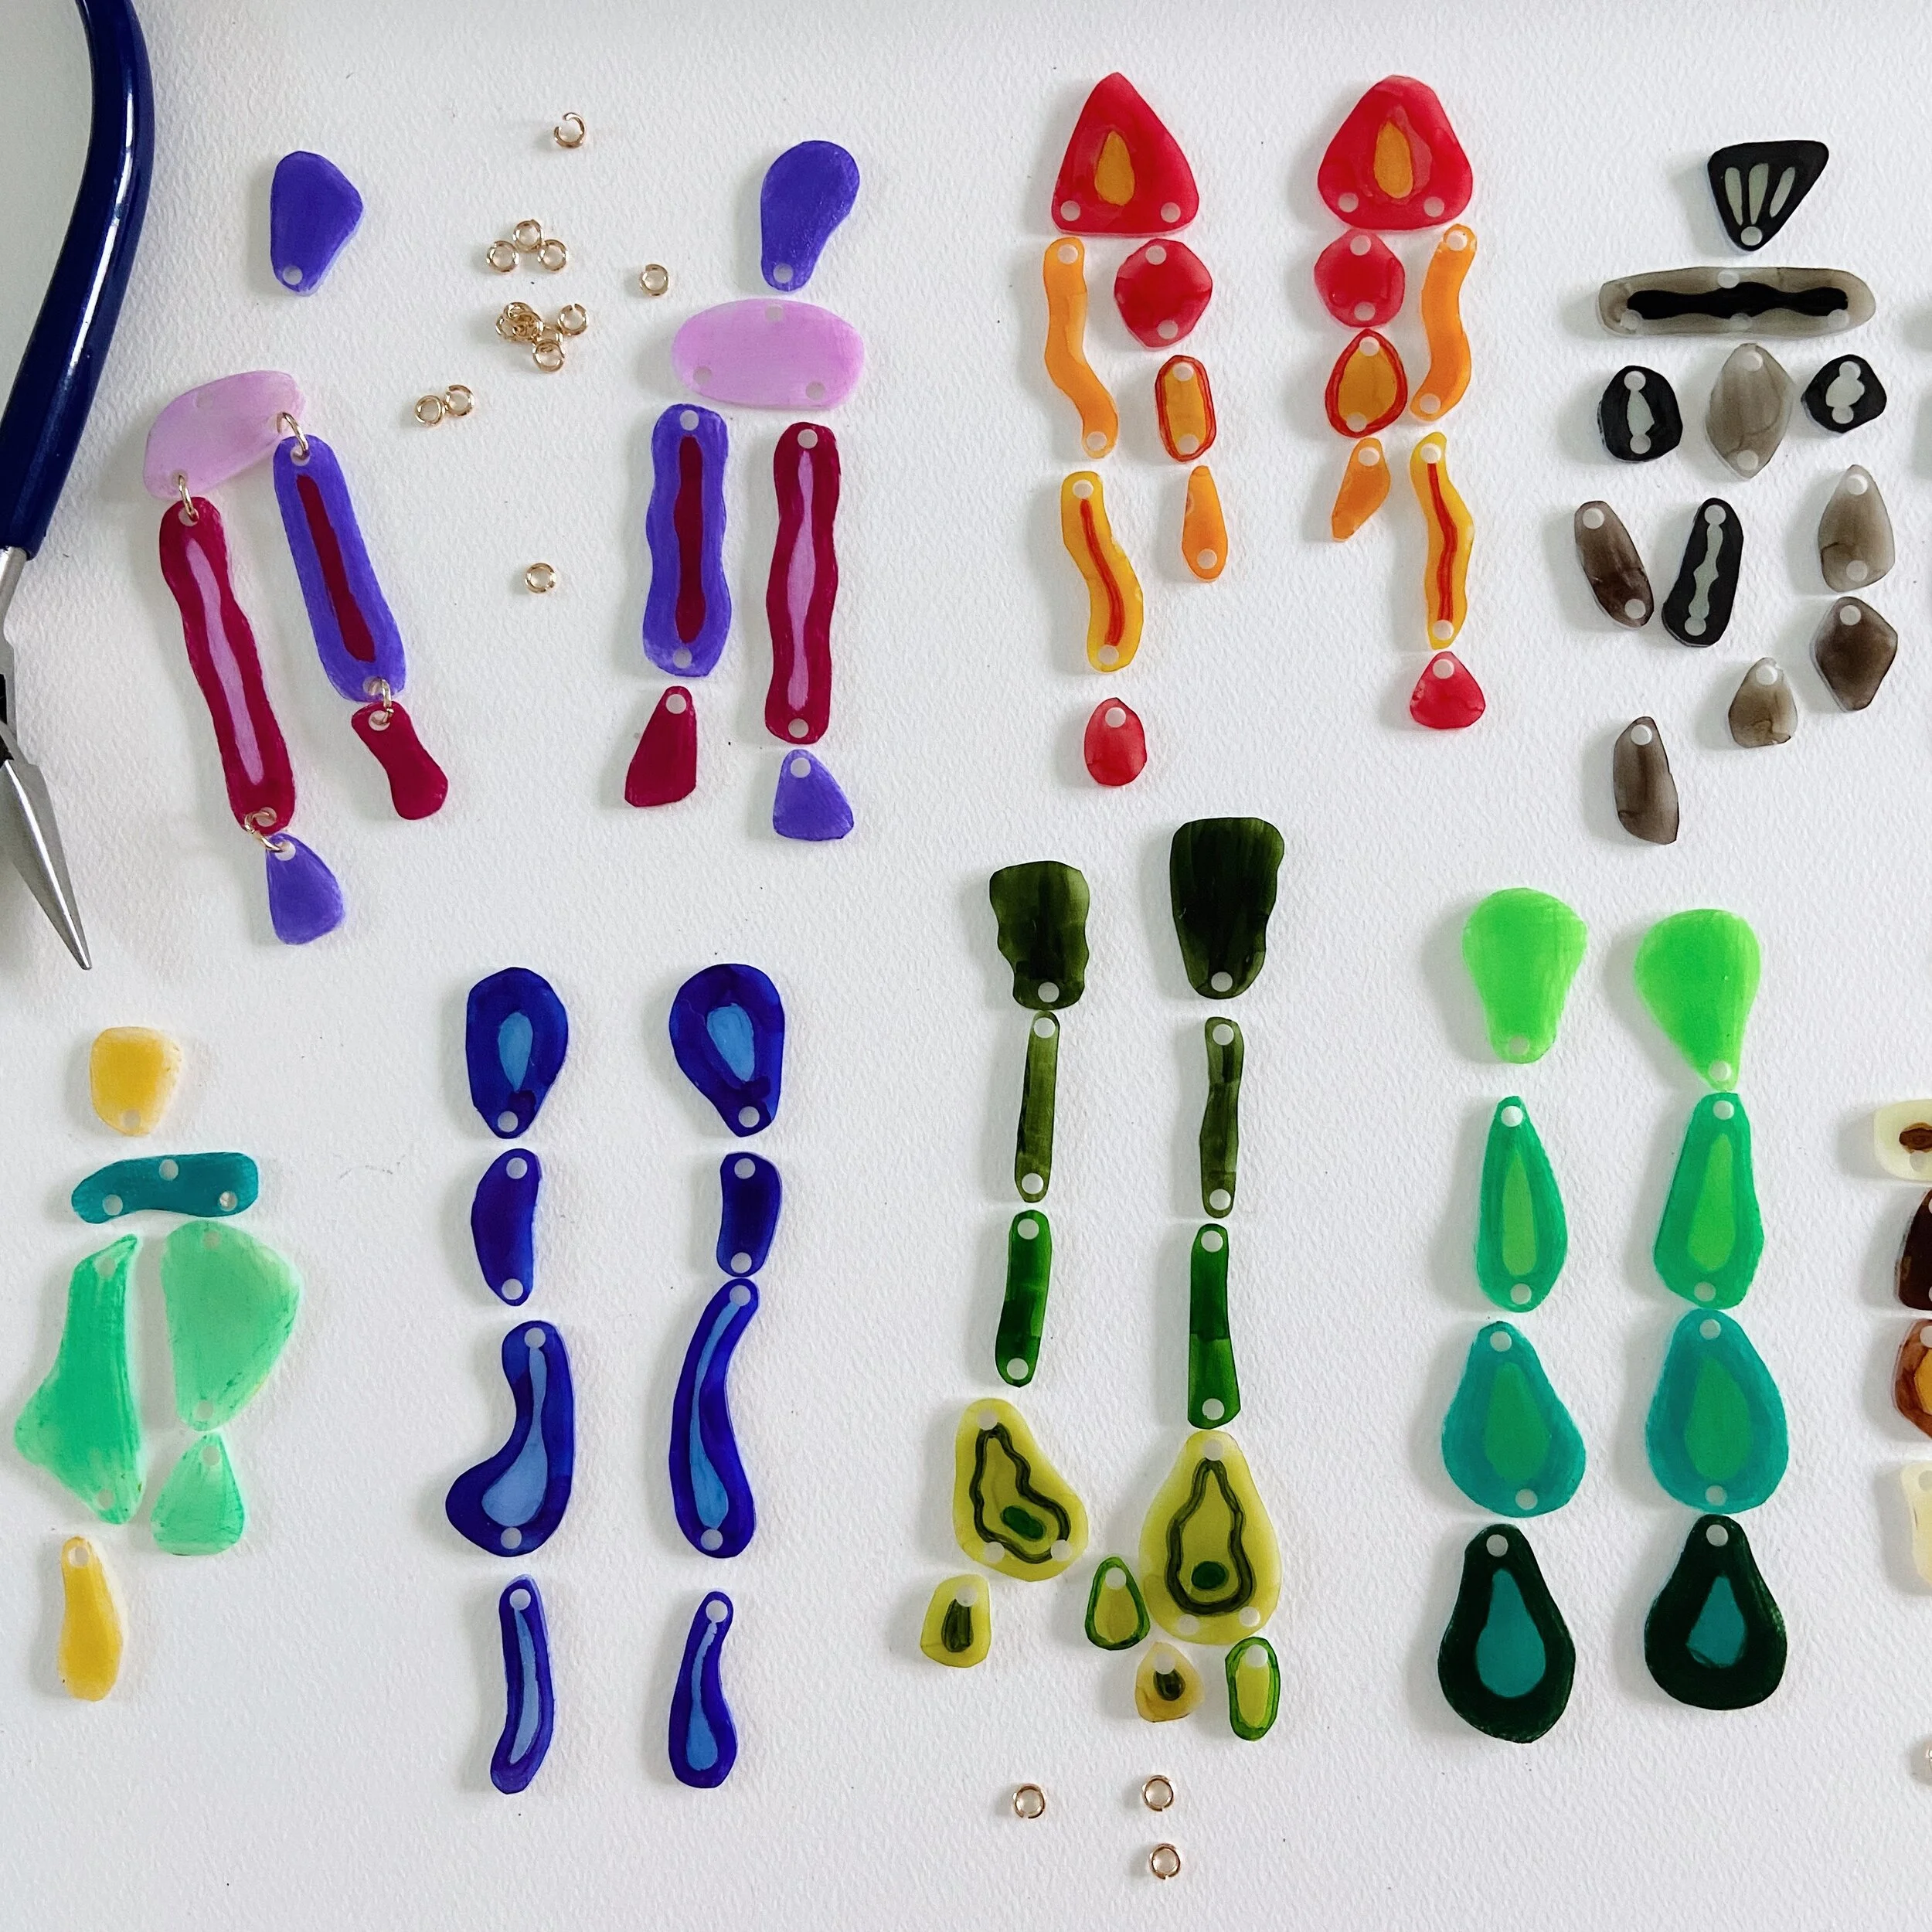
4. TRANSFER: I trace my full-size drawings (step 2) onto a plastic sheets, x 2 (to make a pair of earrings).
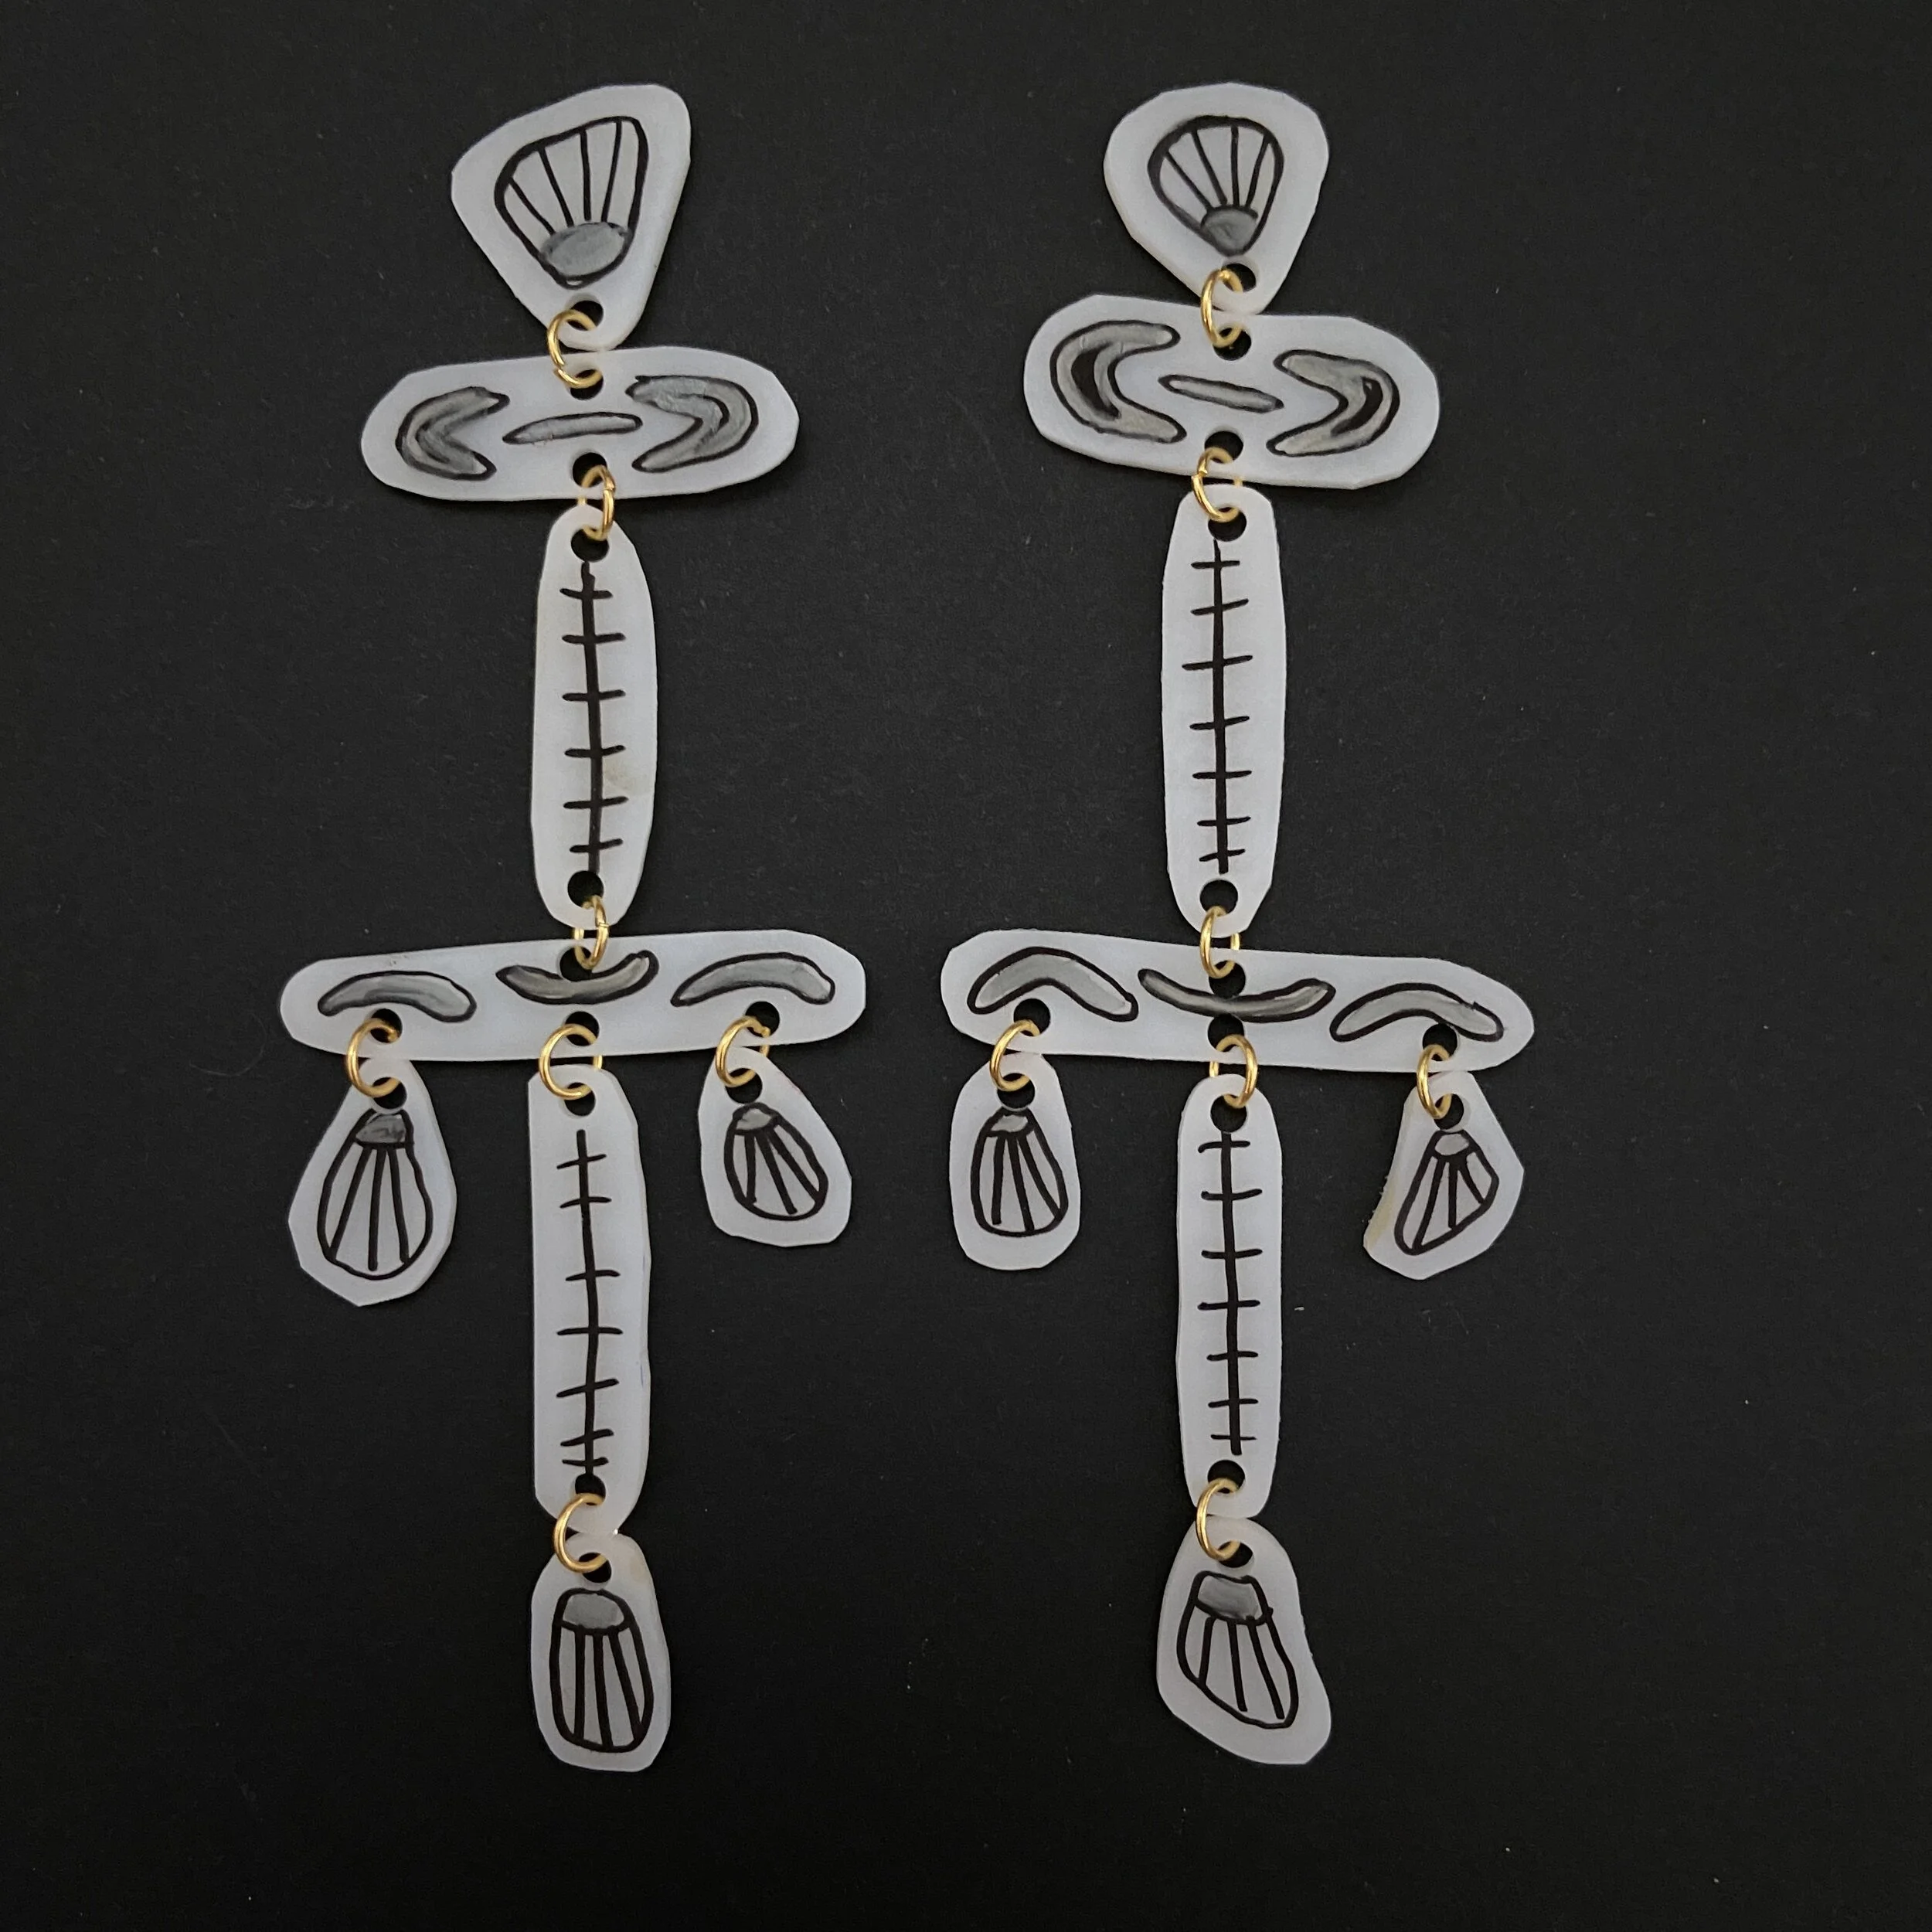
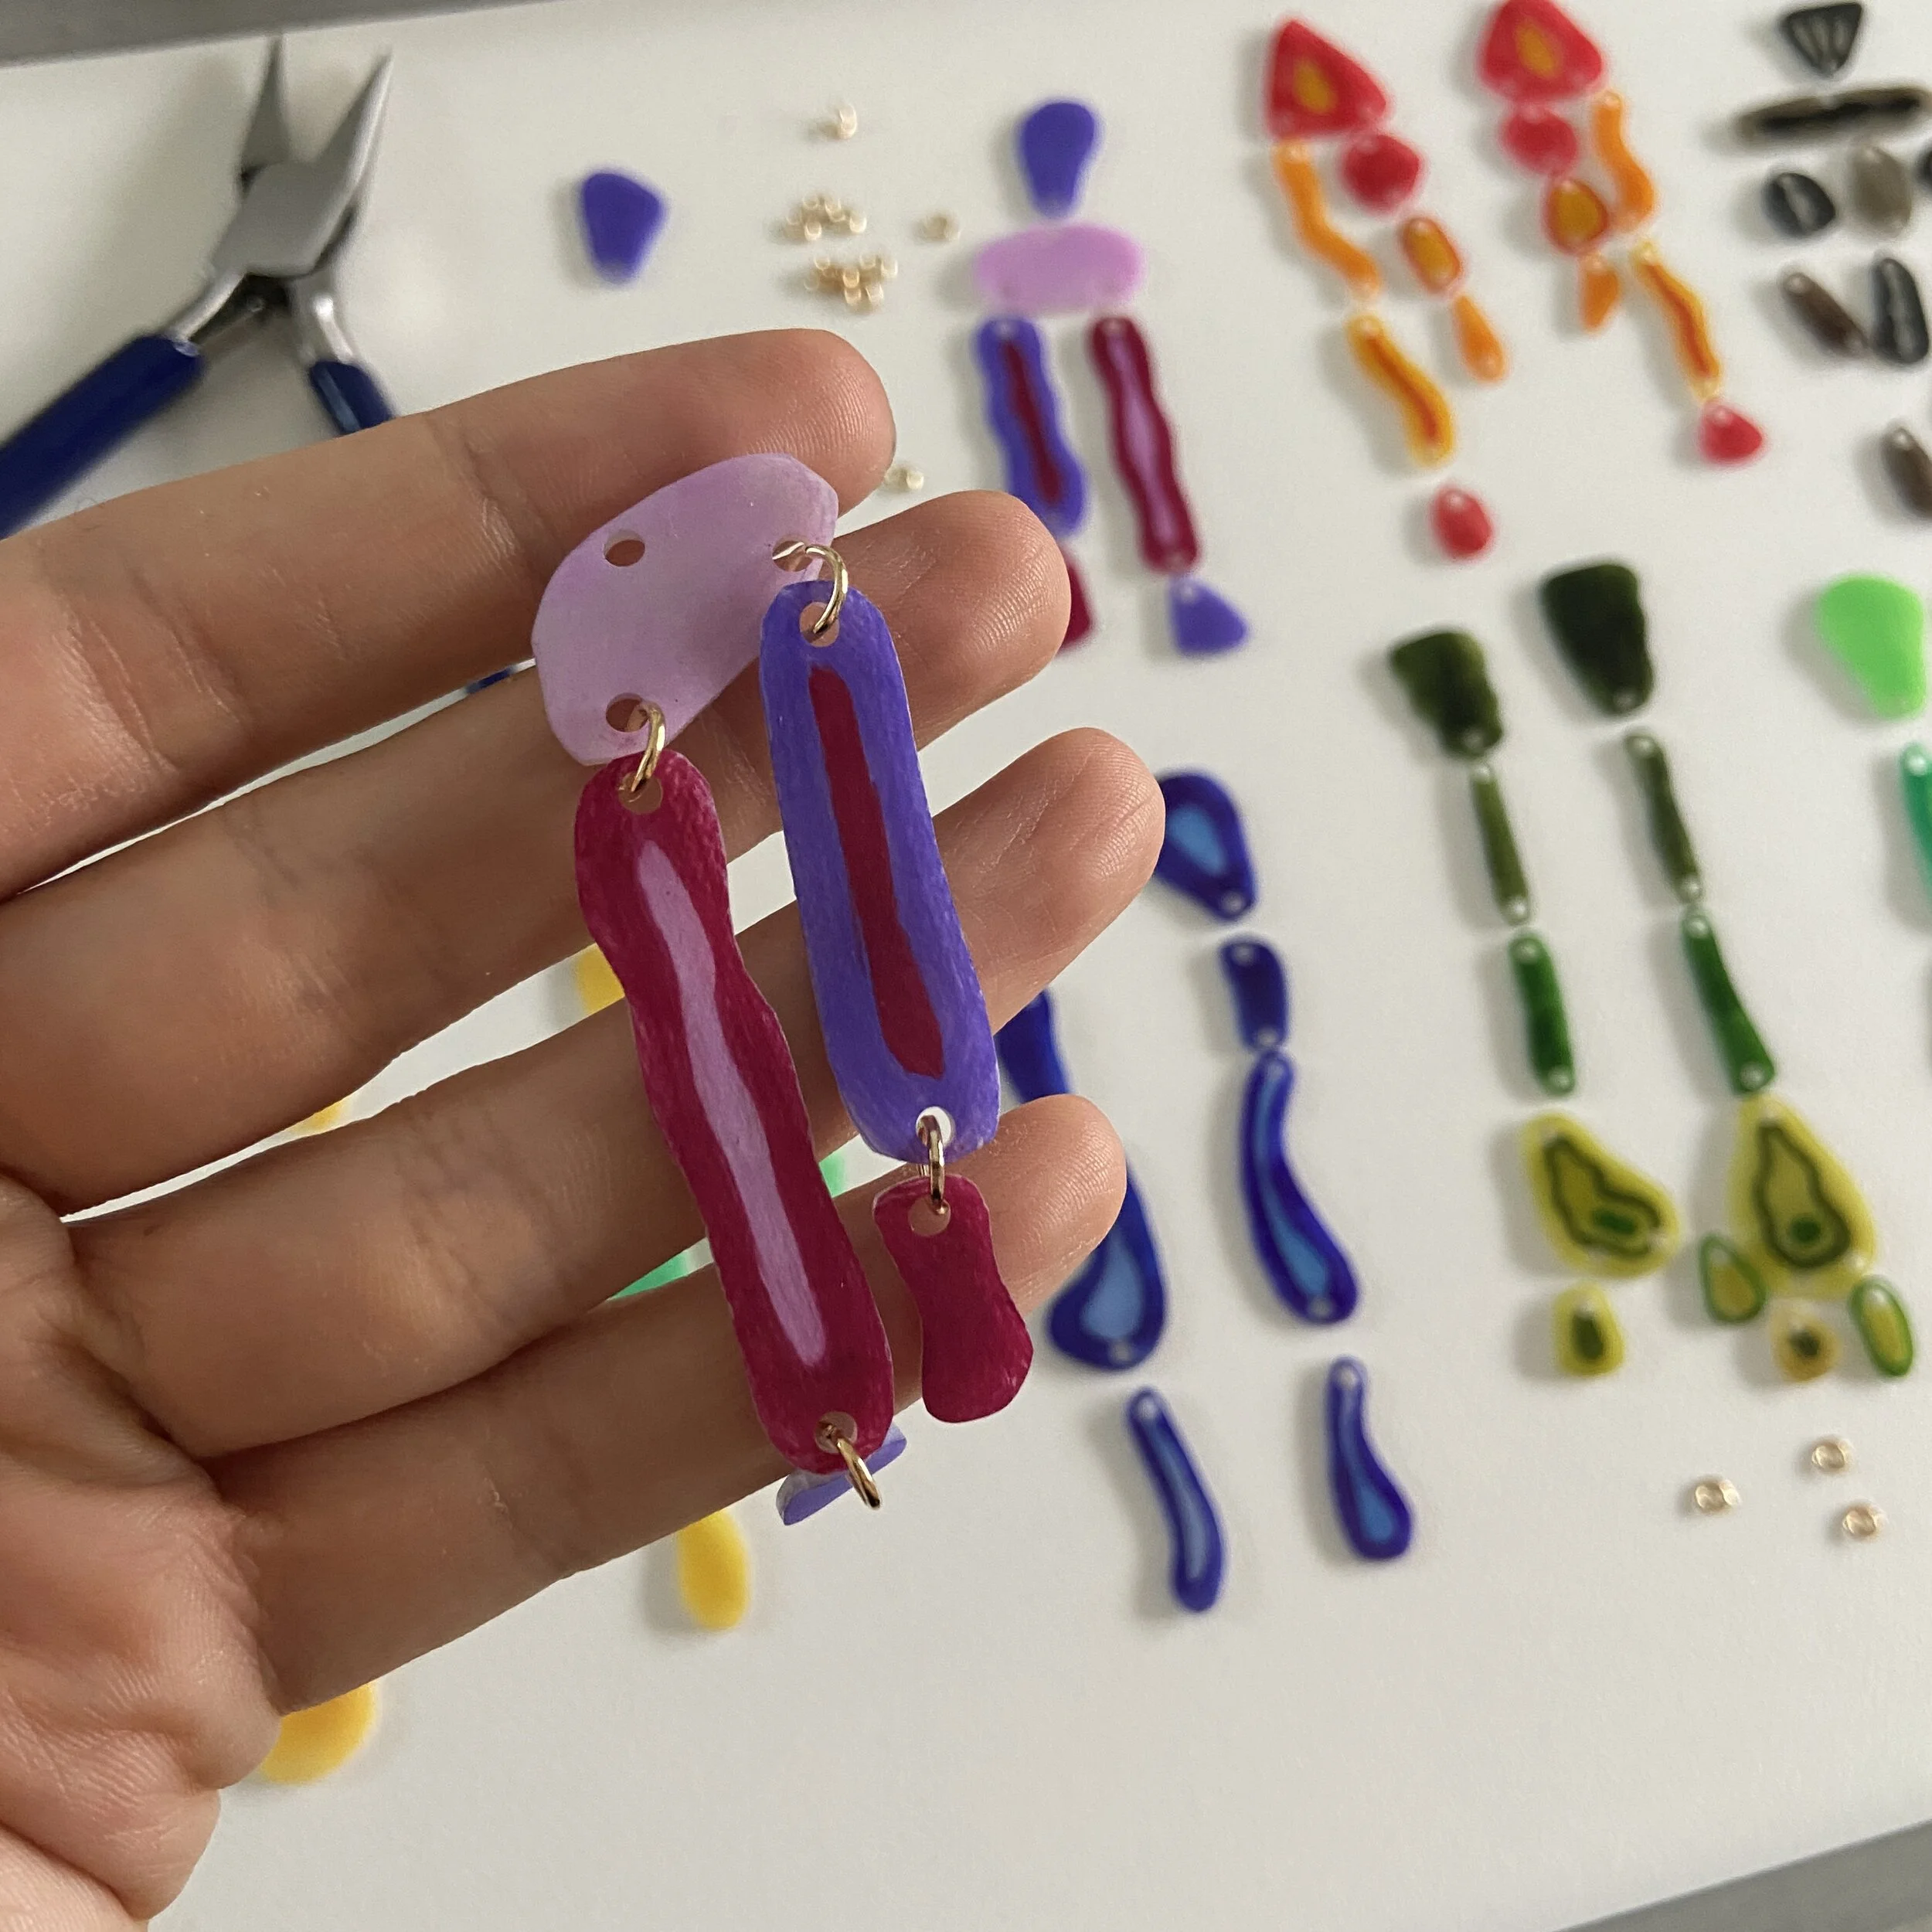
5. COLOR: I use both colored pencils and markers to color the plastic sheets. Pencils result in a more matte appearance and, depending on the color, often have less color pay-off; markers result in a more glossy appearance and have extremely deep color pay-off.

Steps 6-10 - Cutting to Listing
6. CUT: If designs have interior cut-outs or lots of complicated organic shapes, I use an X-acto knife on a self-healing mat. The more interior shape cut-outs, the more time-intensive the cutting. To keep cuts accurate and clean, I change out the X-acto knife blade about every 8-10 designs (the plastic sheets dull the blade pretty quickly). For outer shapes without many complicated curved lines, I use scissors (Cutter Bee brand).
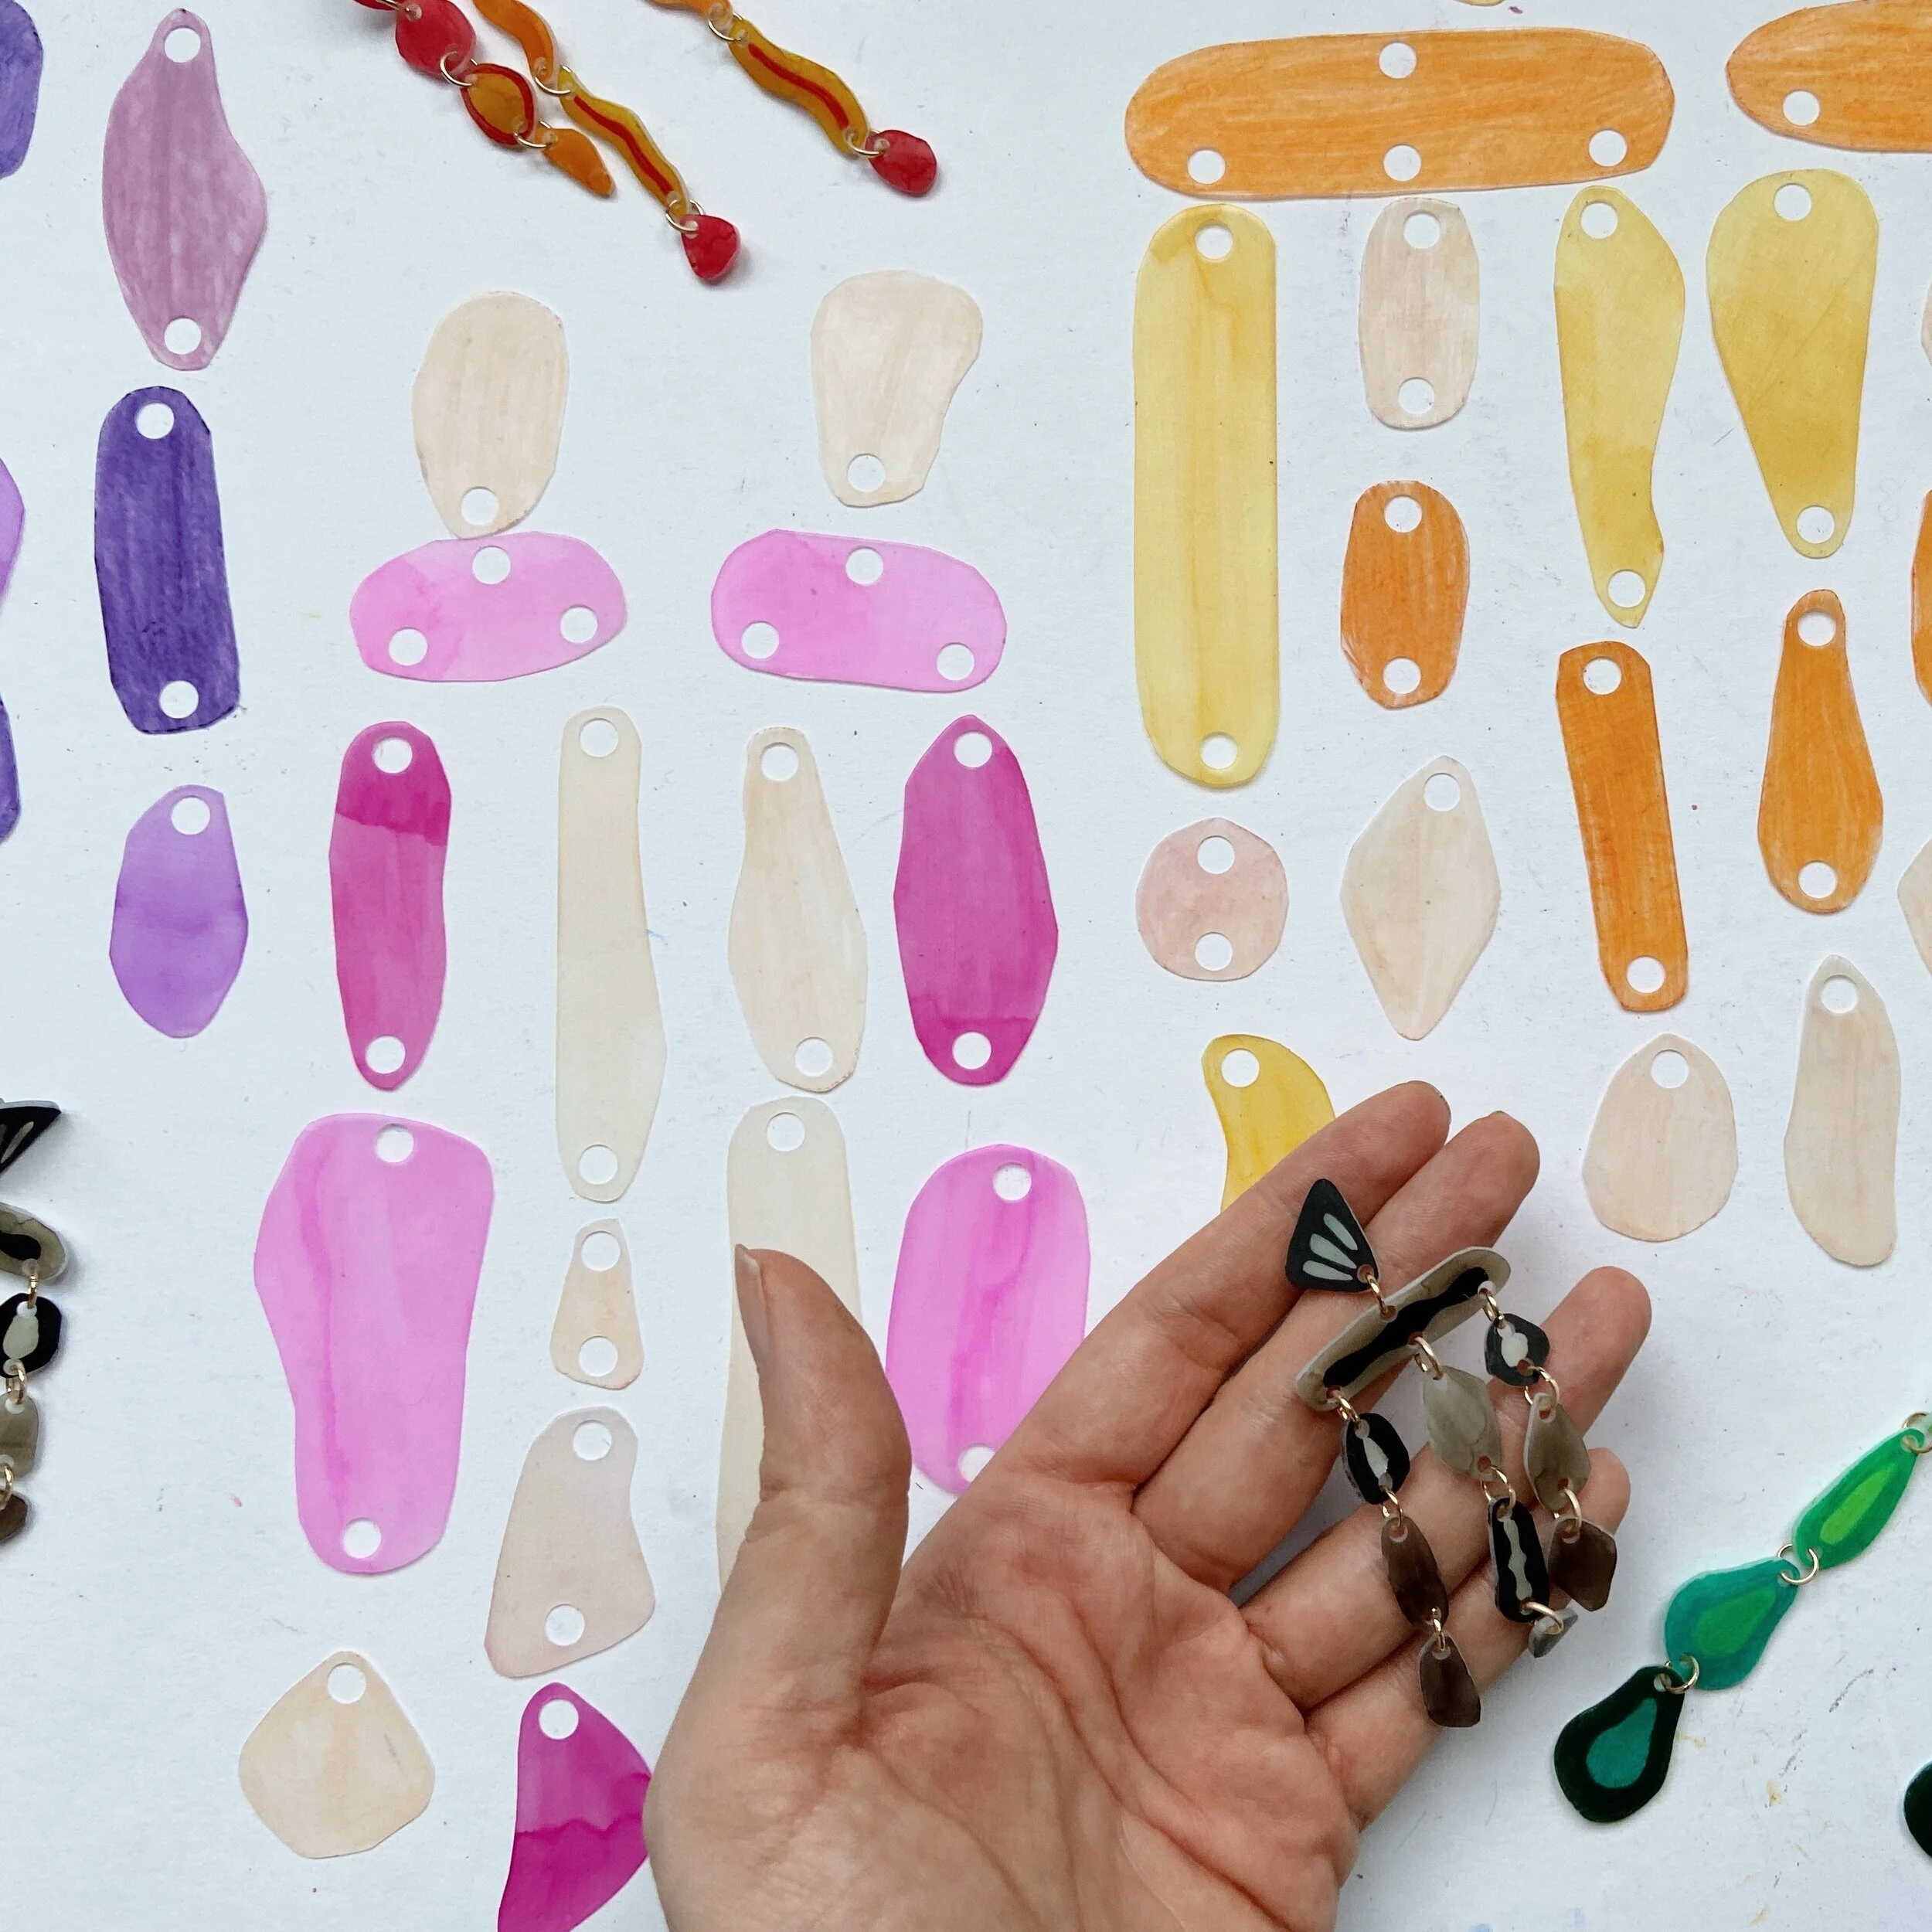
7. HOLE-PUNCH: I arrange the earring pieces on my work space and mark each place where there needs to be a hole (for jump-ring connectors later on) with a marker. Then I hole-punch each piece where necessary. Sometimes I miss a place I should’ve punched, and after the pieces come out of the oven, you can no longer add a hole— so you have to start that whole piece over. Very annoying! I double-triple check to make sure I’ve made holes in all the places I need.
8. BAKE: This is the fun (and sweaty) part! I heat up the oven and line a baking pan with parchment paper. I usually do one earring at a time, but if one earring has a combination of very long/large pieces along with very small ones, I divide up the large and small pieces to do in two separate batches. This is a very inconvenient/time consuming way to go about things, but because each pair of earrings is one-of-a-kind, I can’t mix up all the pieces because I’ll forget how they fit together again! The bake time varies according to size and shape. Long, thin shapes and pieces with cut-outs are the most difficult, and if you don’t watch carefully they fold in on themselves and/or melt together as they curl. When that happens, I’m ready with long wooden dowels for prodding and coaxing the plastic to flatten and shrink correctly. Occasionally a piece gives me a lot of issues and I have to take it out and, while it’s still hot and the plastic still malleable (only for about 5 seconds after being removed from the oven), I use my hands to shape and press it down, usually burning myself in the process— ouch! When things go well, the pieces curl up with heat then flatten out, now about 1/3 their original size— and when they’re completely flat, I know it’s time to remove them from the oven.
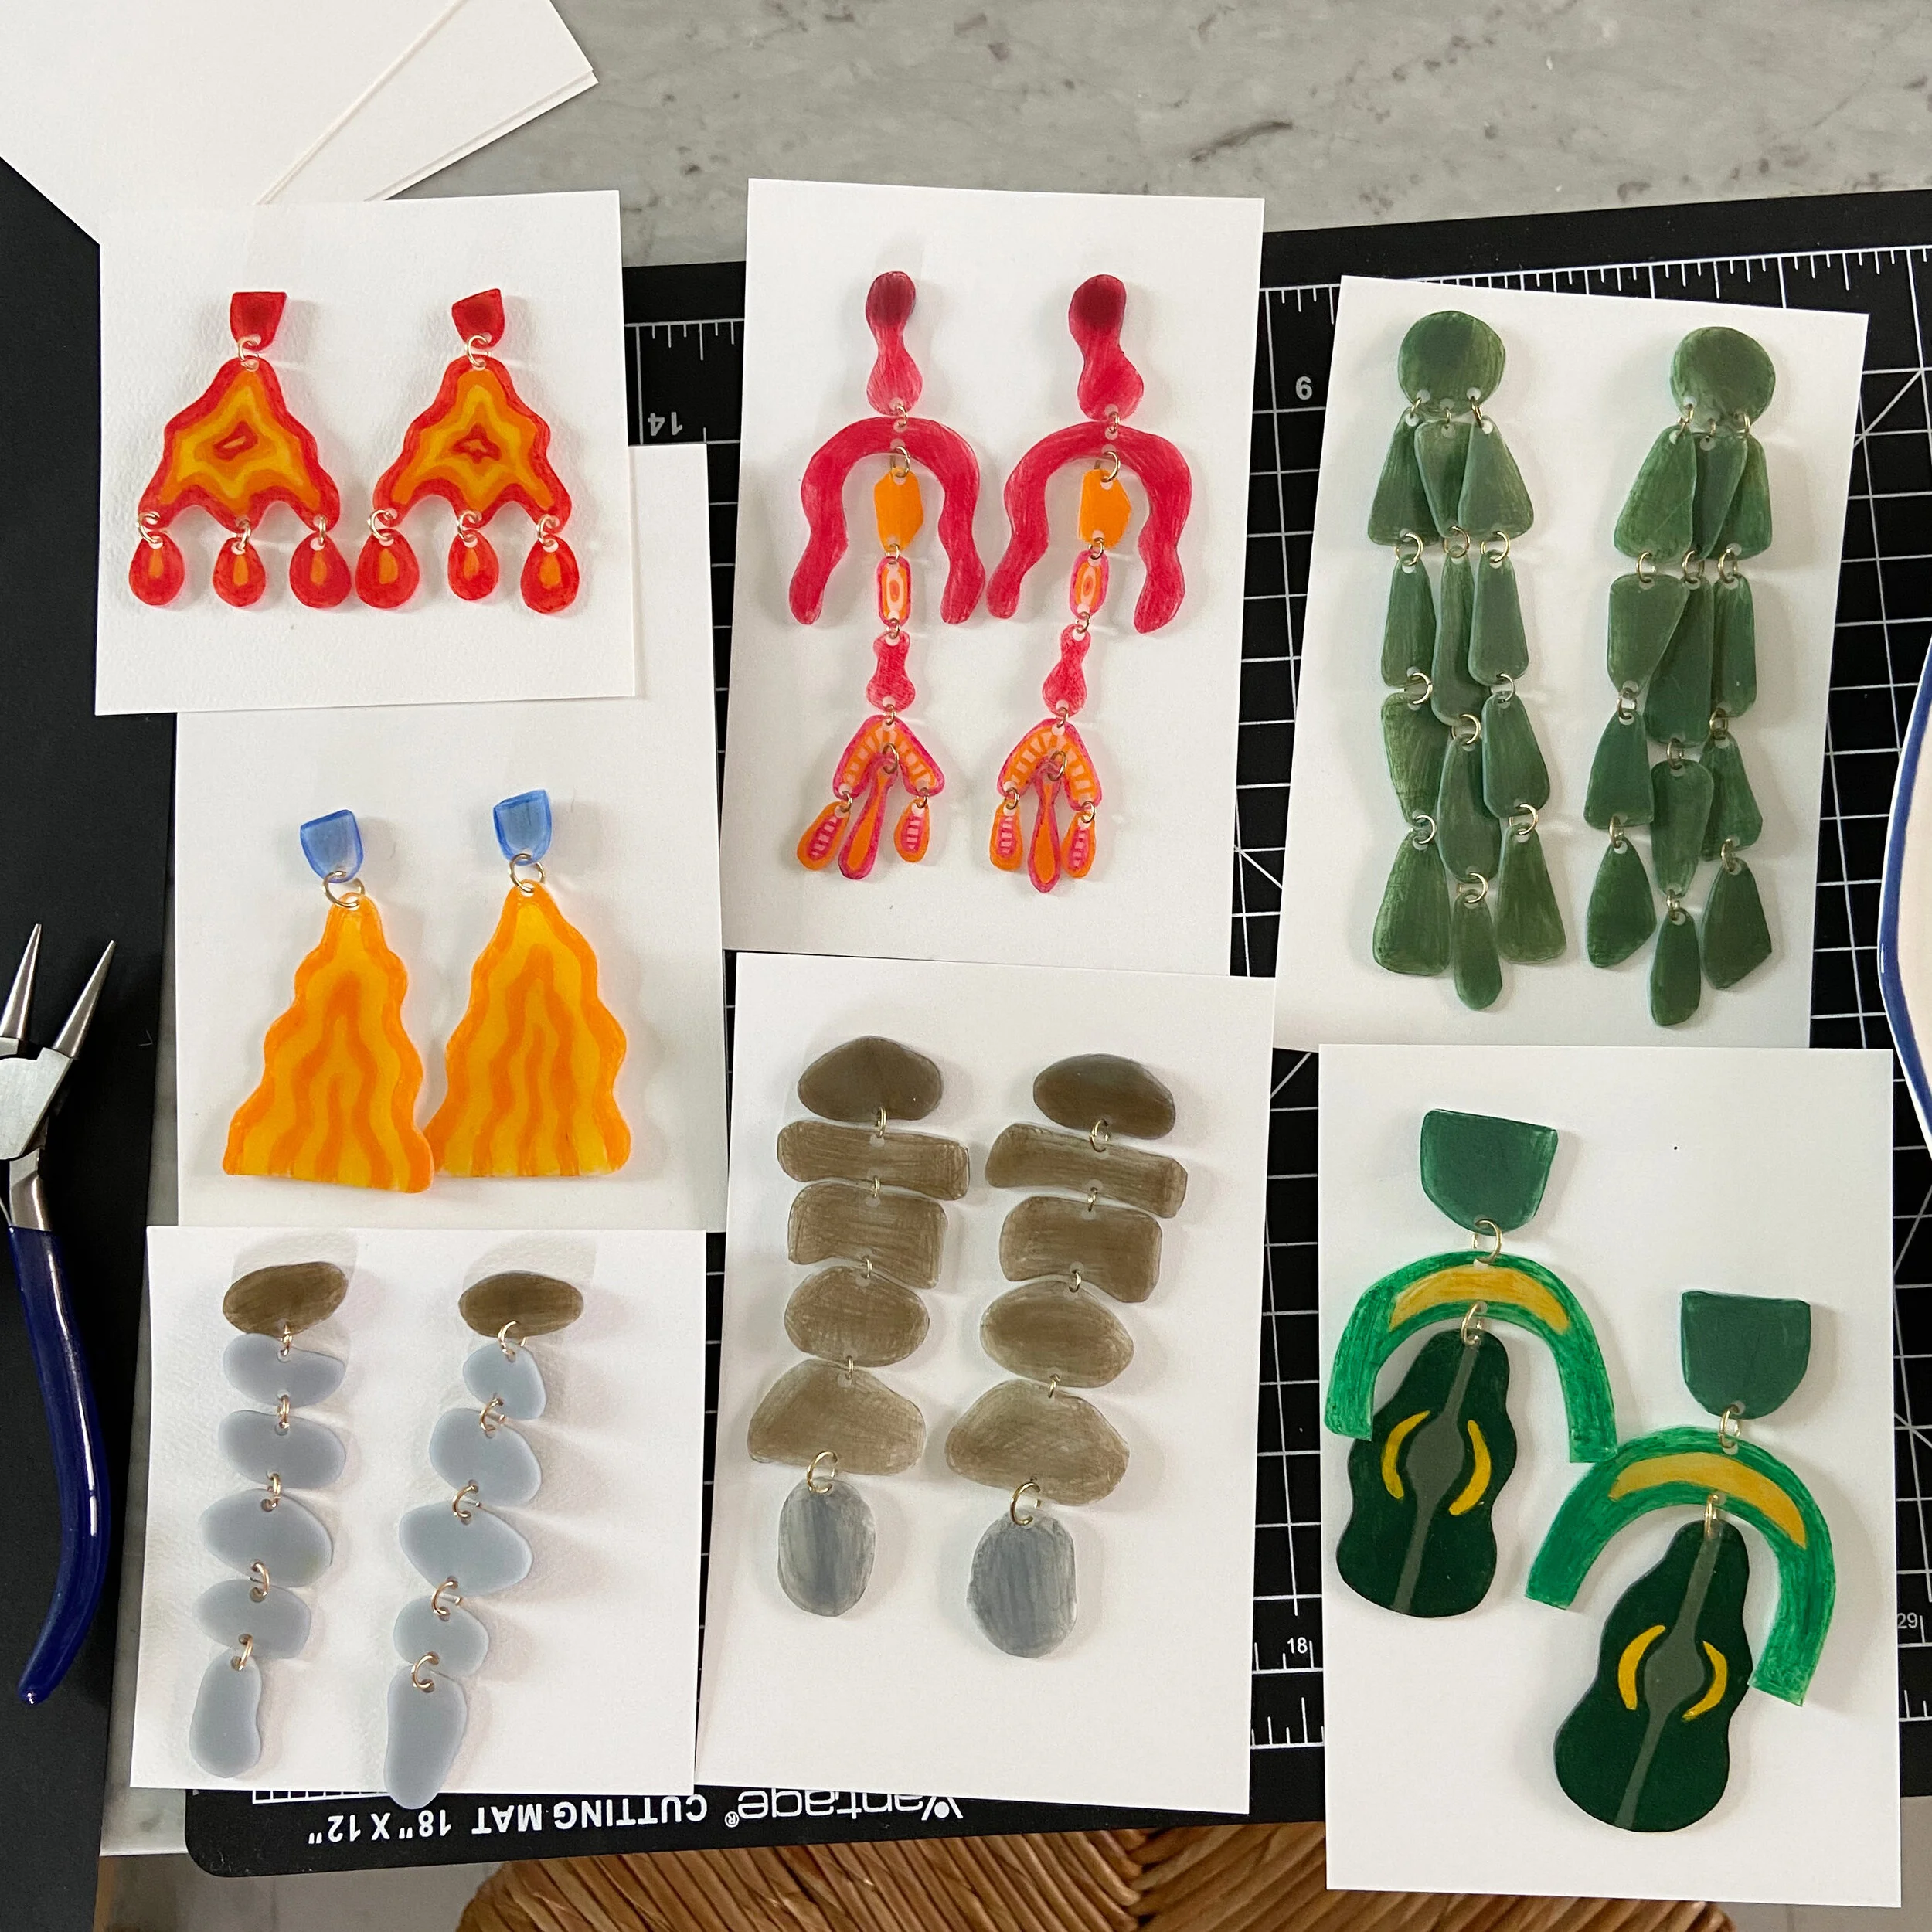
9. COOL: When the pieces come out of the oven, I have baking sheets lined with white paper for arranging the earrings. Some pieces have a curve to them— this is especially true of larger pieces, but also depends on the shape—and as I remove them from the hot baking sheet and transfer them to the cool one, I press firmly (with an oven mitt) to help flatten pieces that need extra help. If a piece is very curved, I put it back in the oven to become malleable, and take it out for more pressing. Sometimes I have to do this a few times. When the pieces are cooperative, they don’t need my help at all, and I arrange them on the baking sheet to cool and put in the next earring to bake.
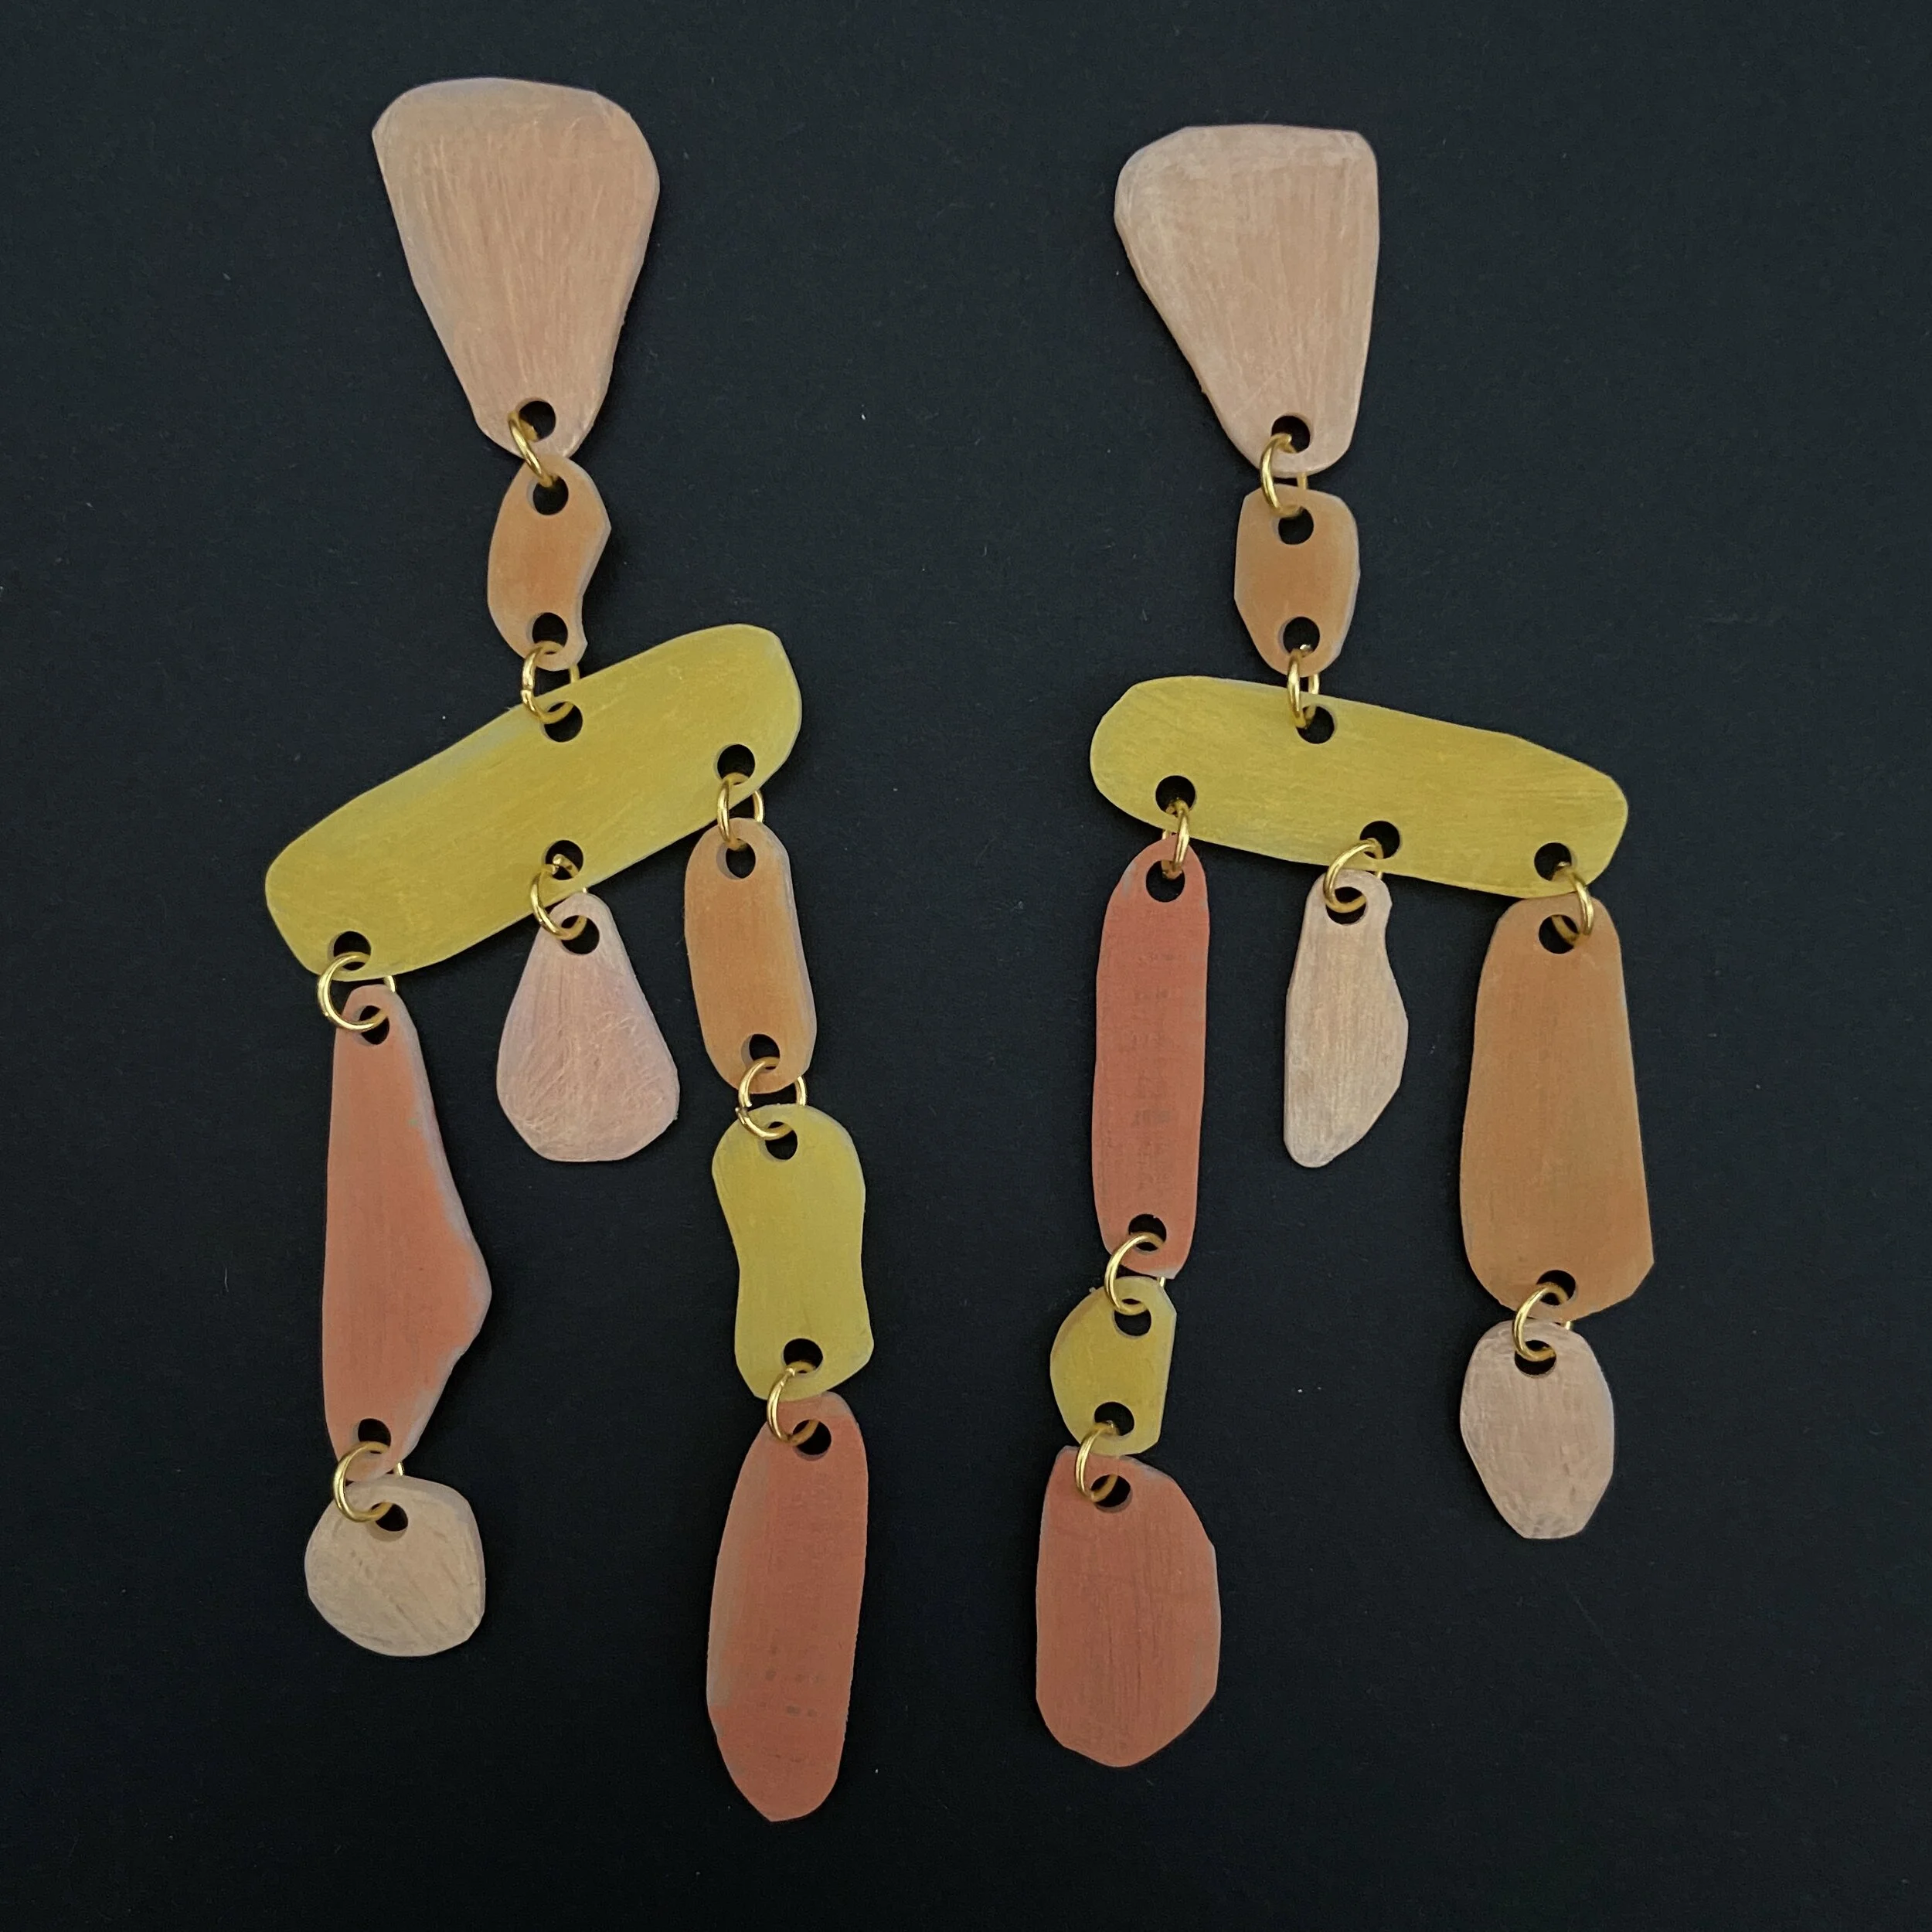
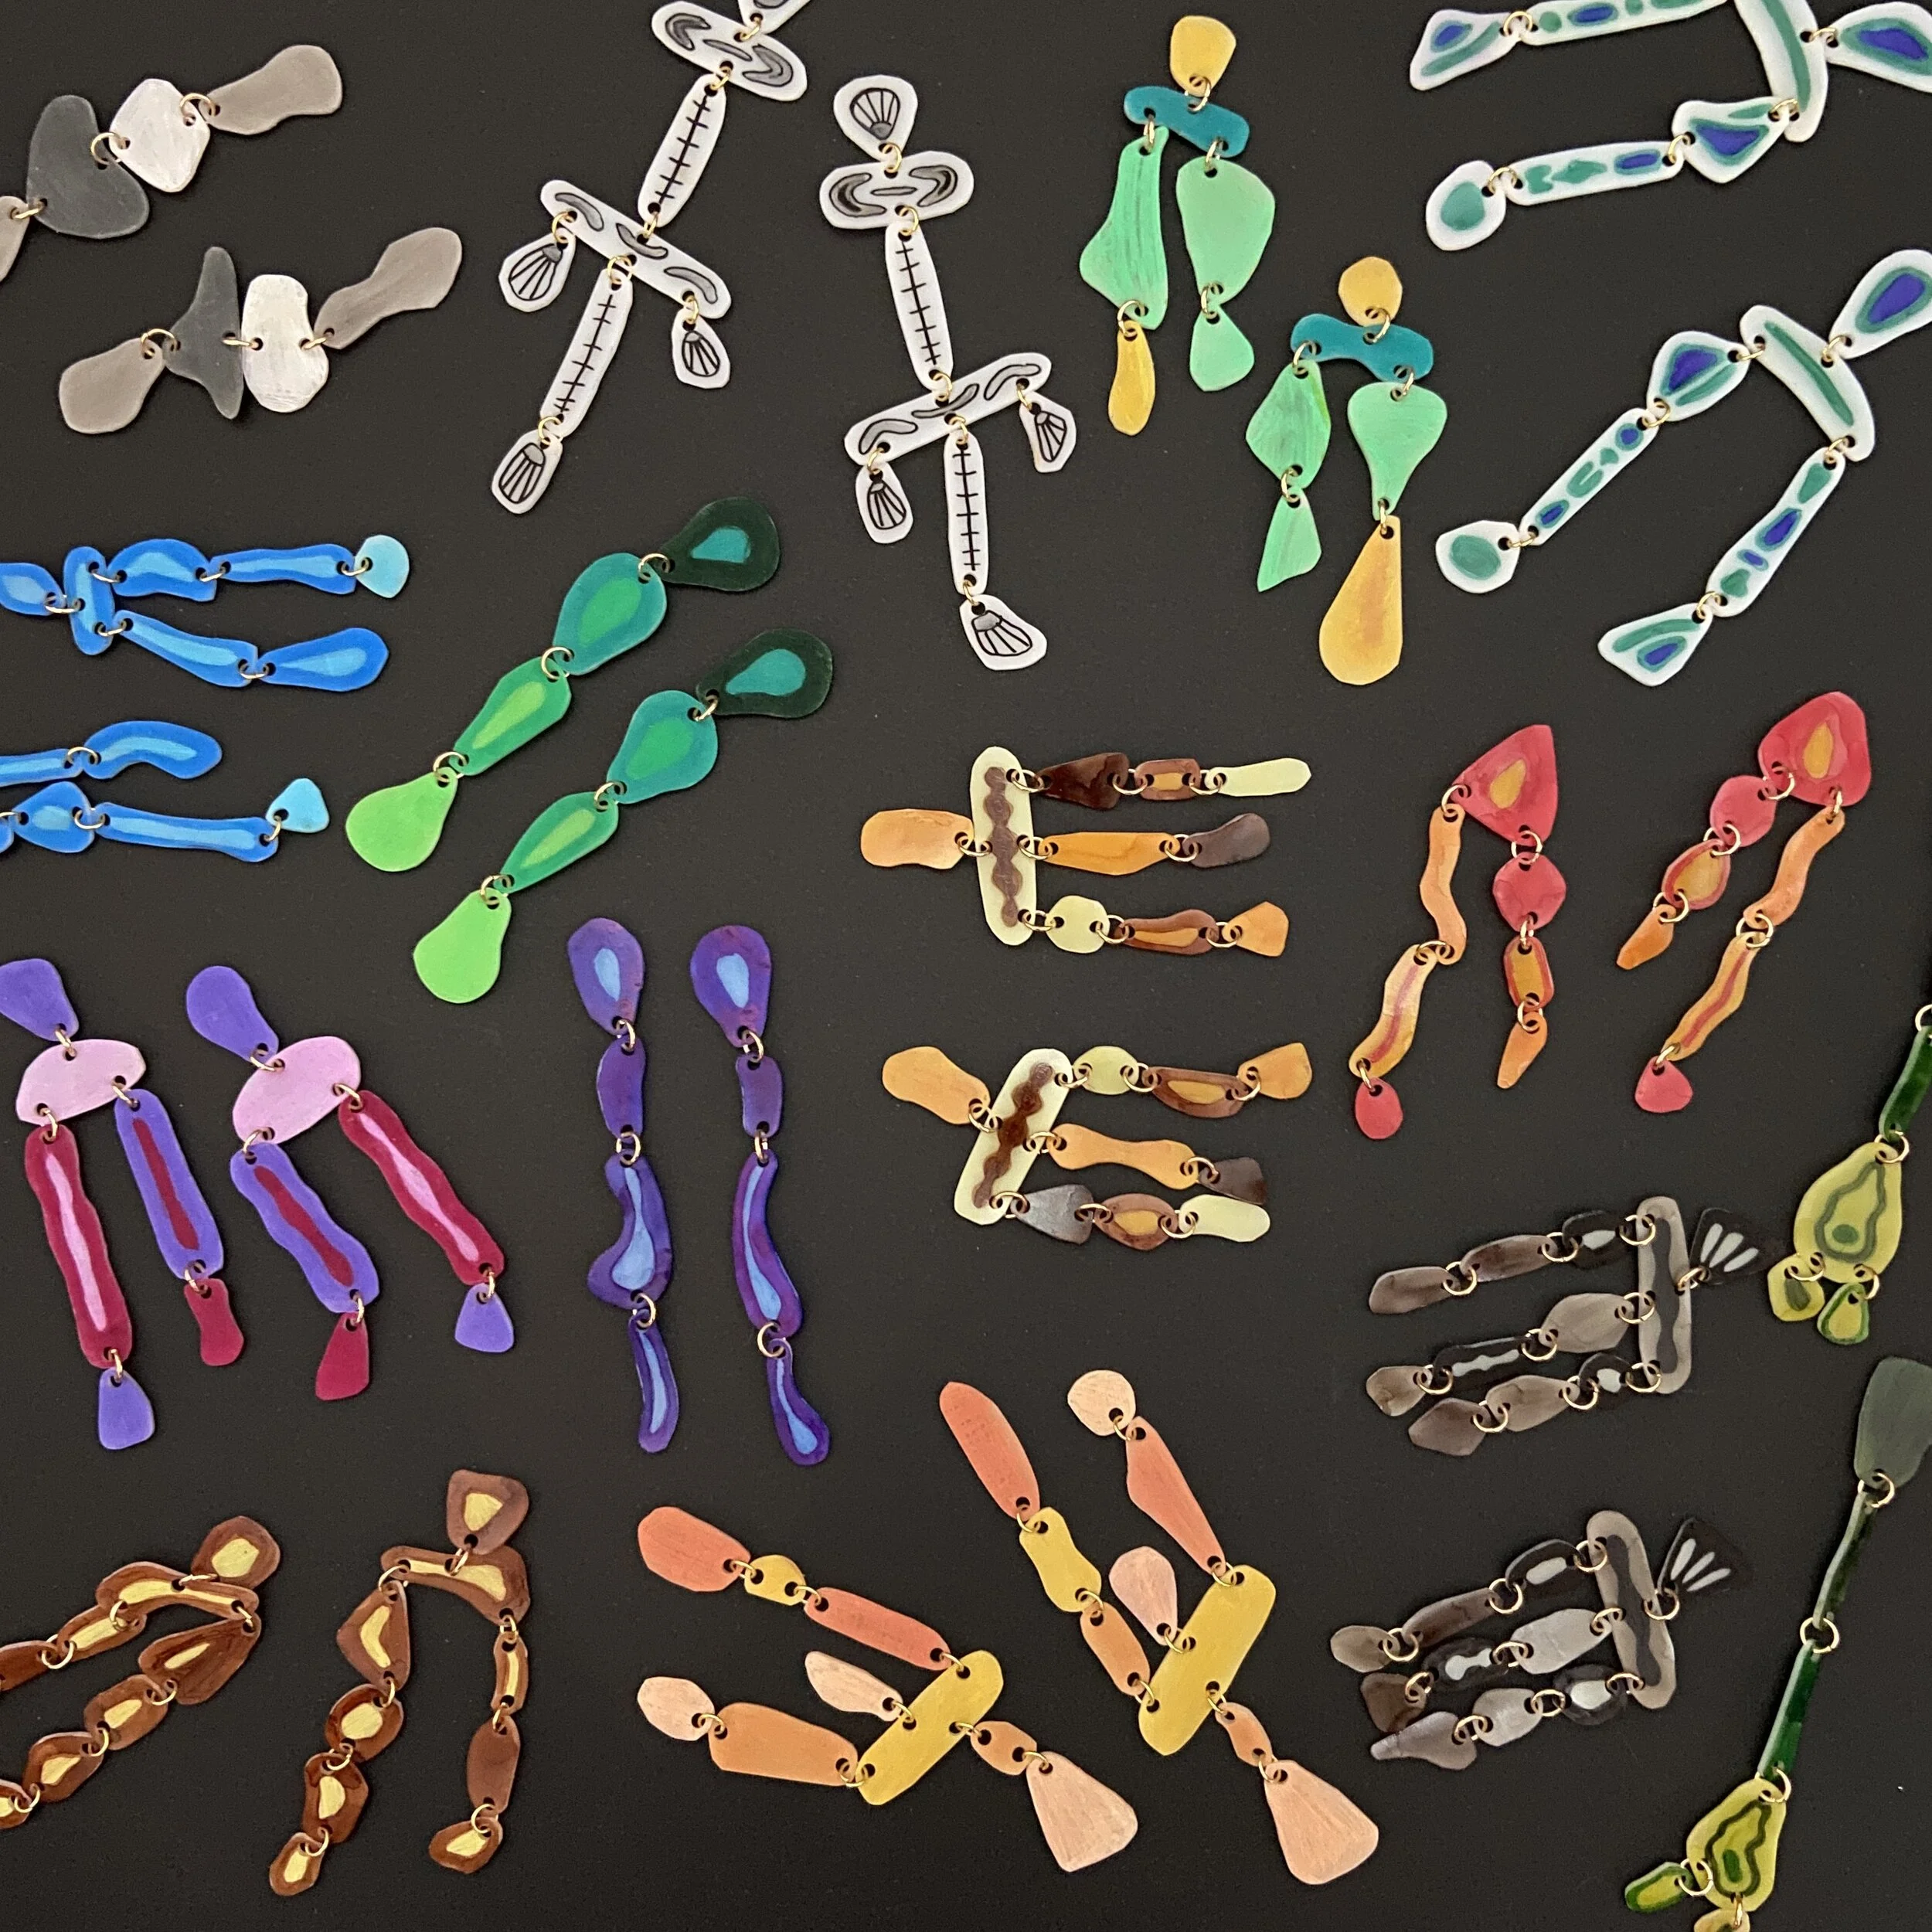
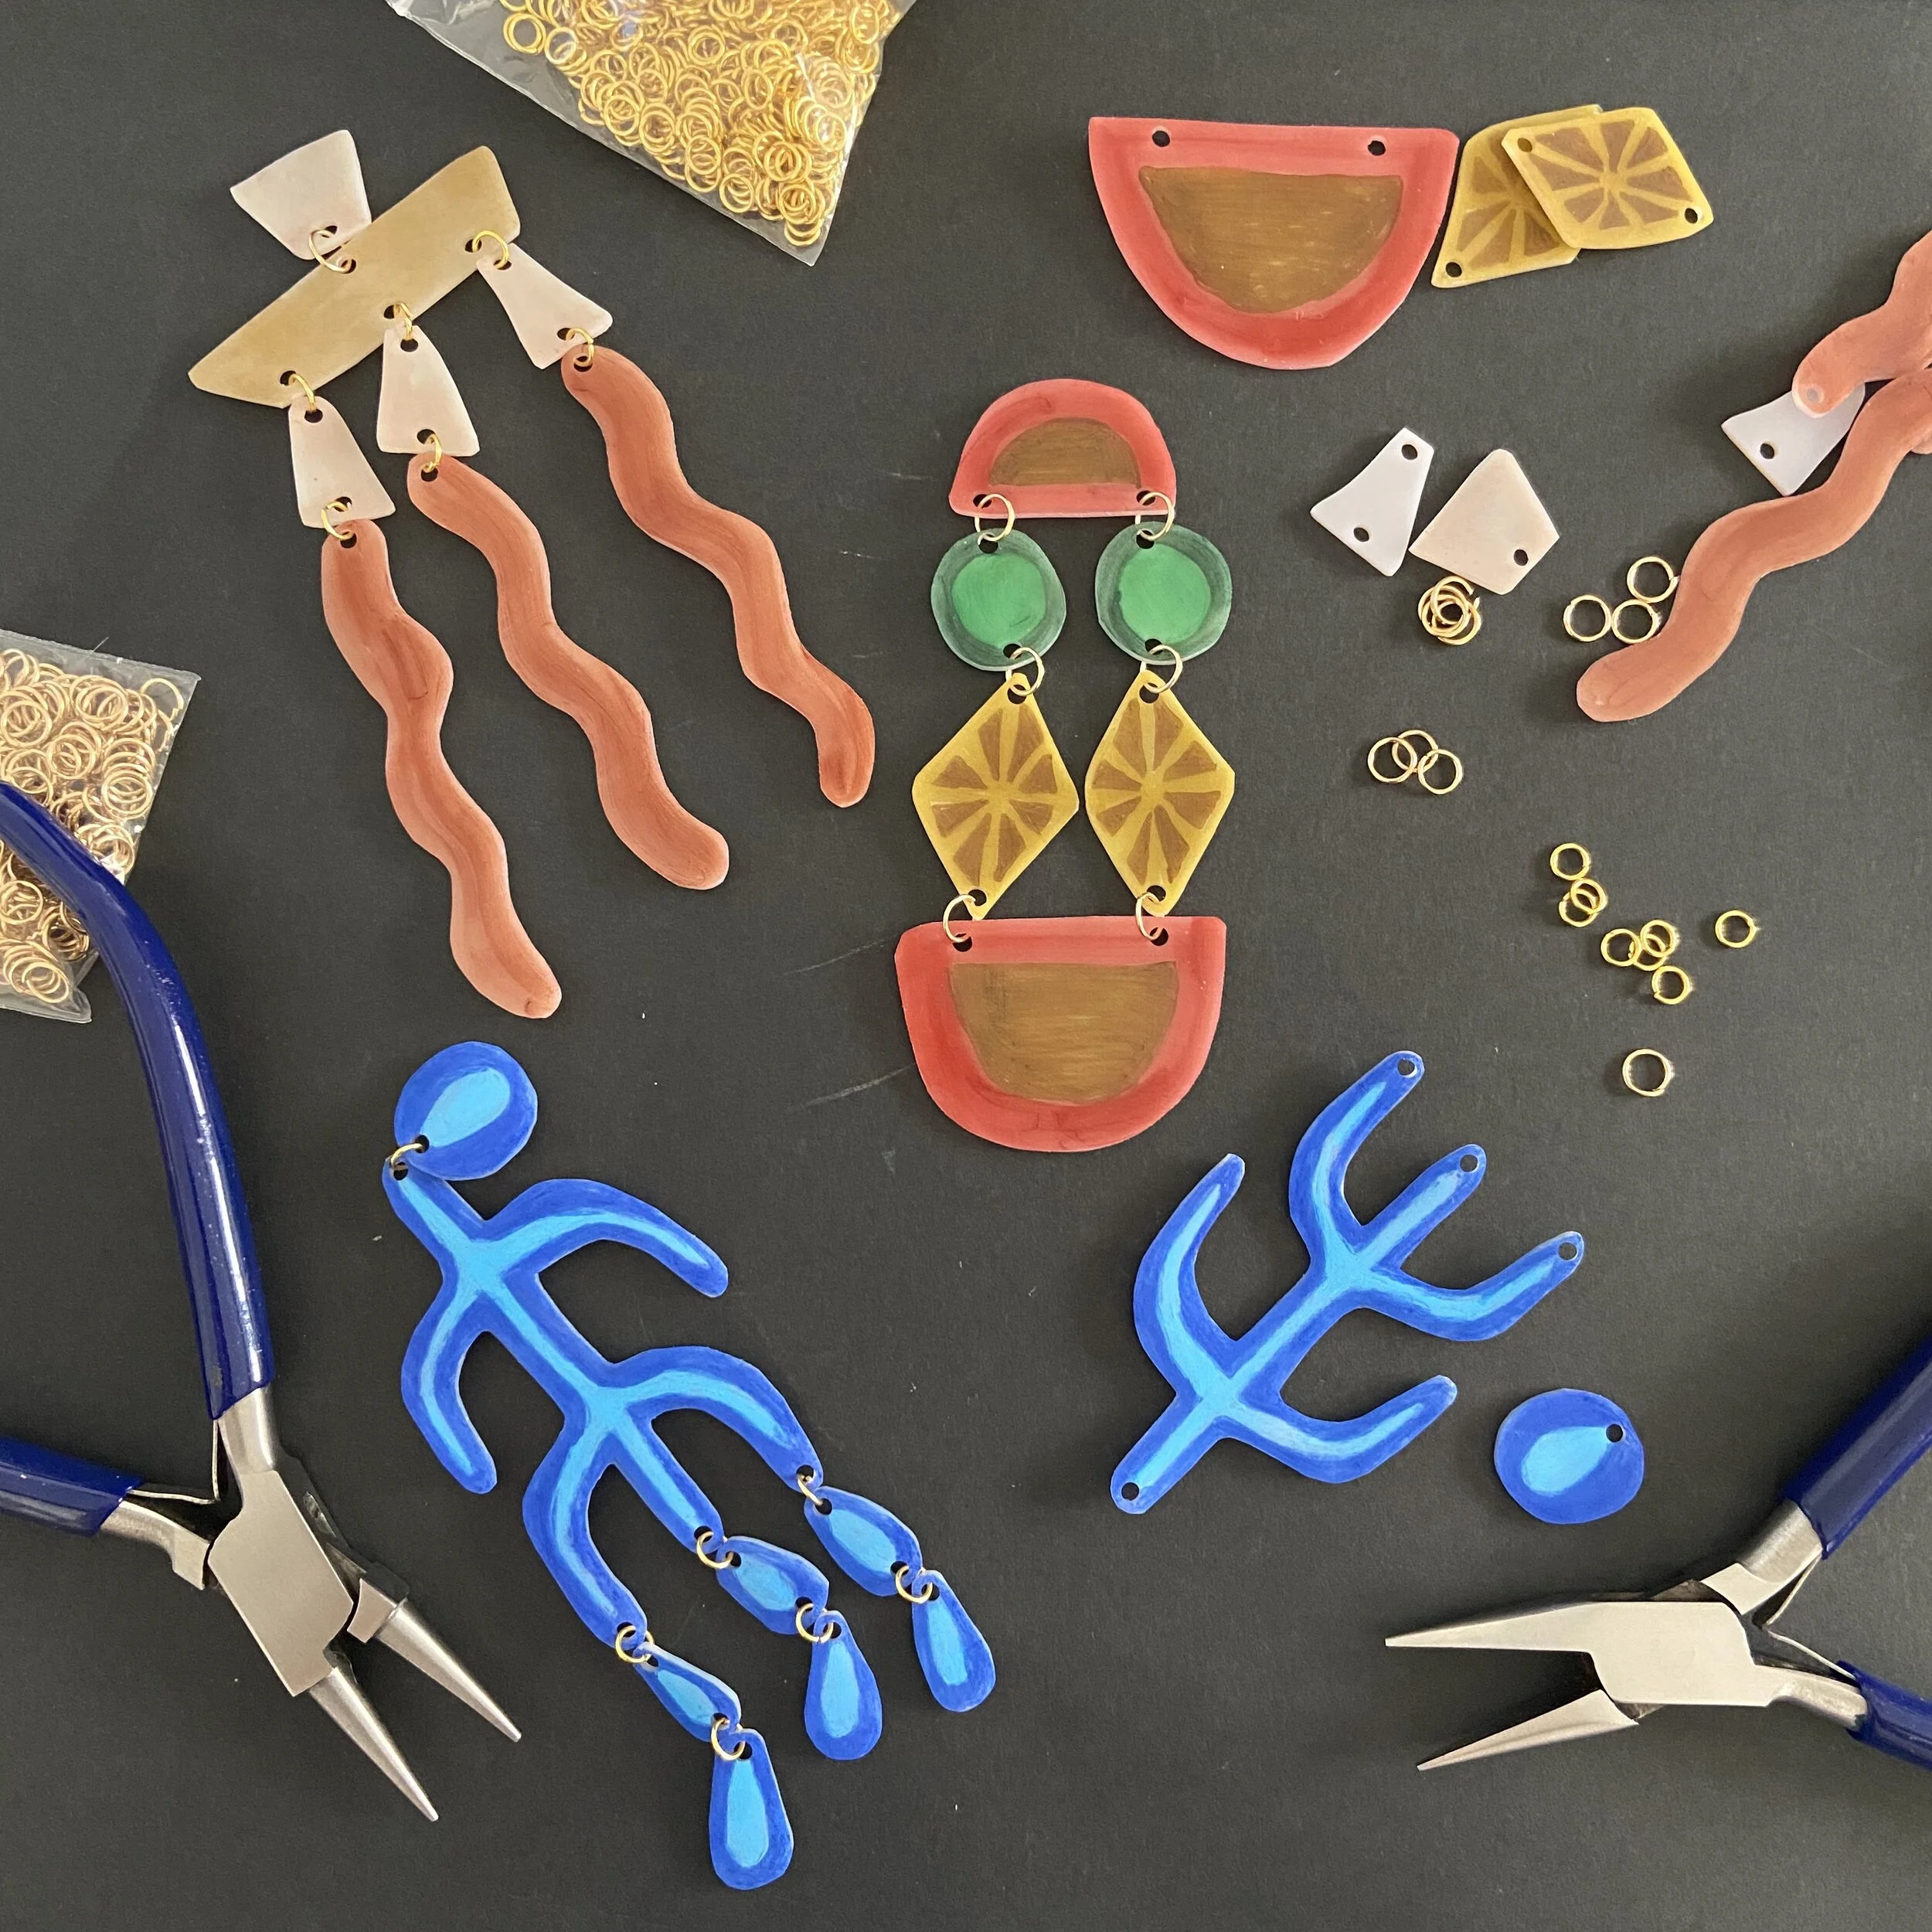
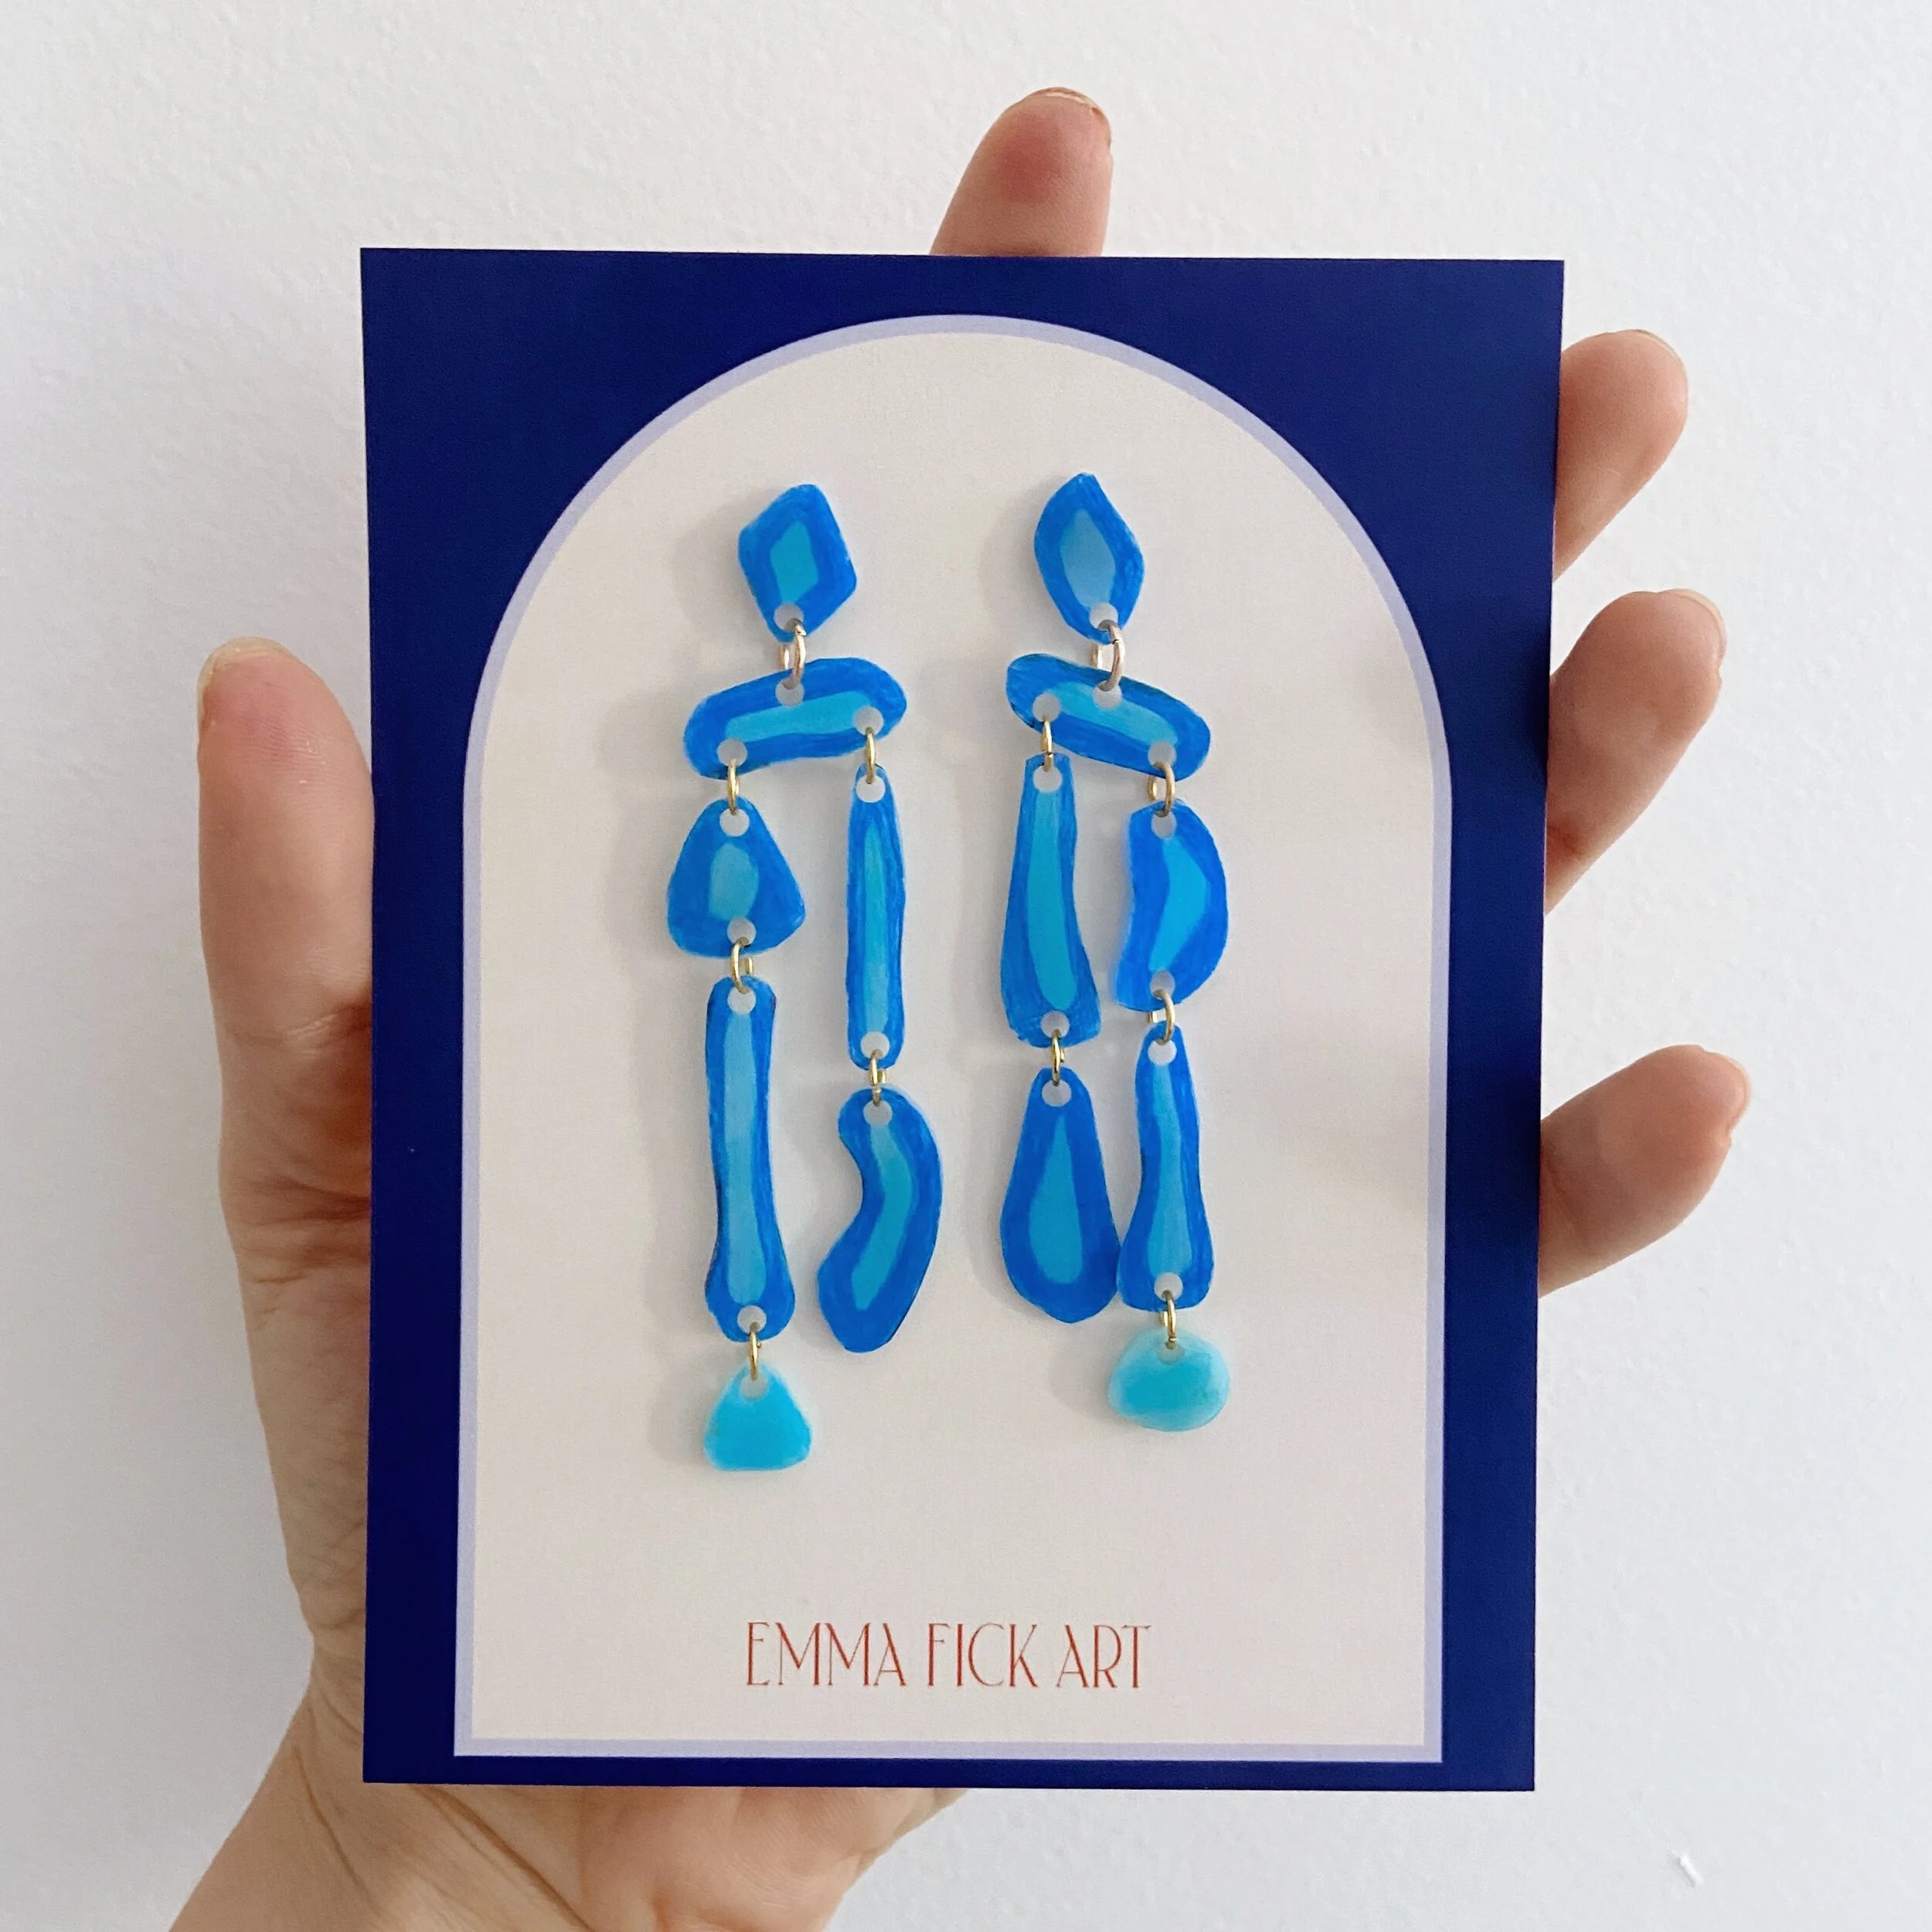
10. ASSEMBLE: After cooling, the earrings are ready to be linked together with jump rings. This is one of my favorite parts, because suddenly the earrings go from random pieces to cohesive (and usually kinetic) assemblages. I use a set of jewelry pliers for this.
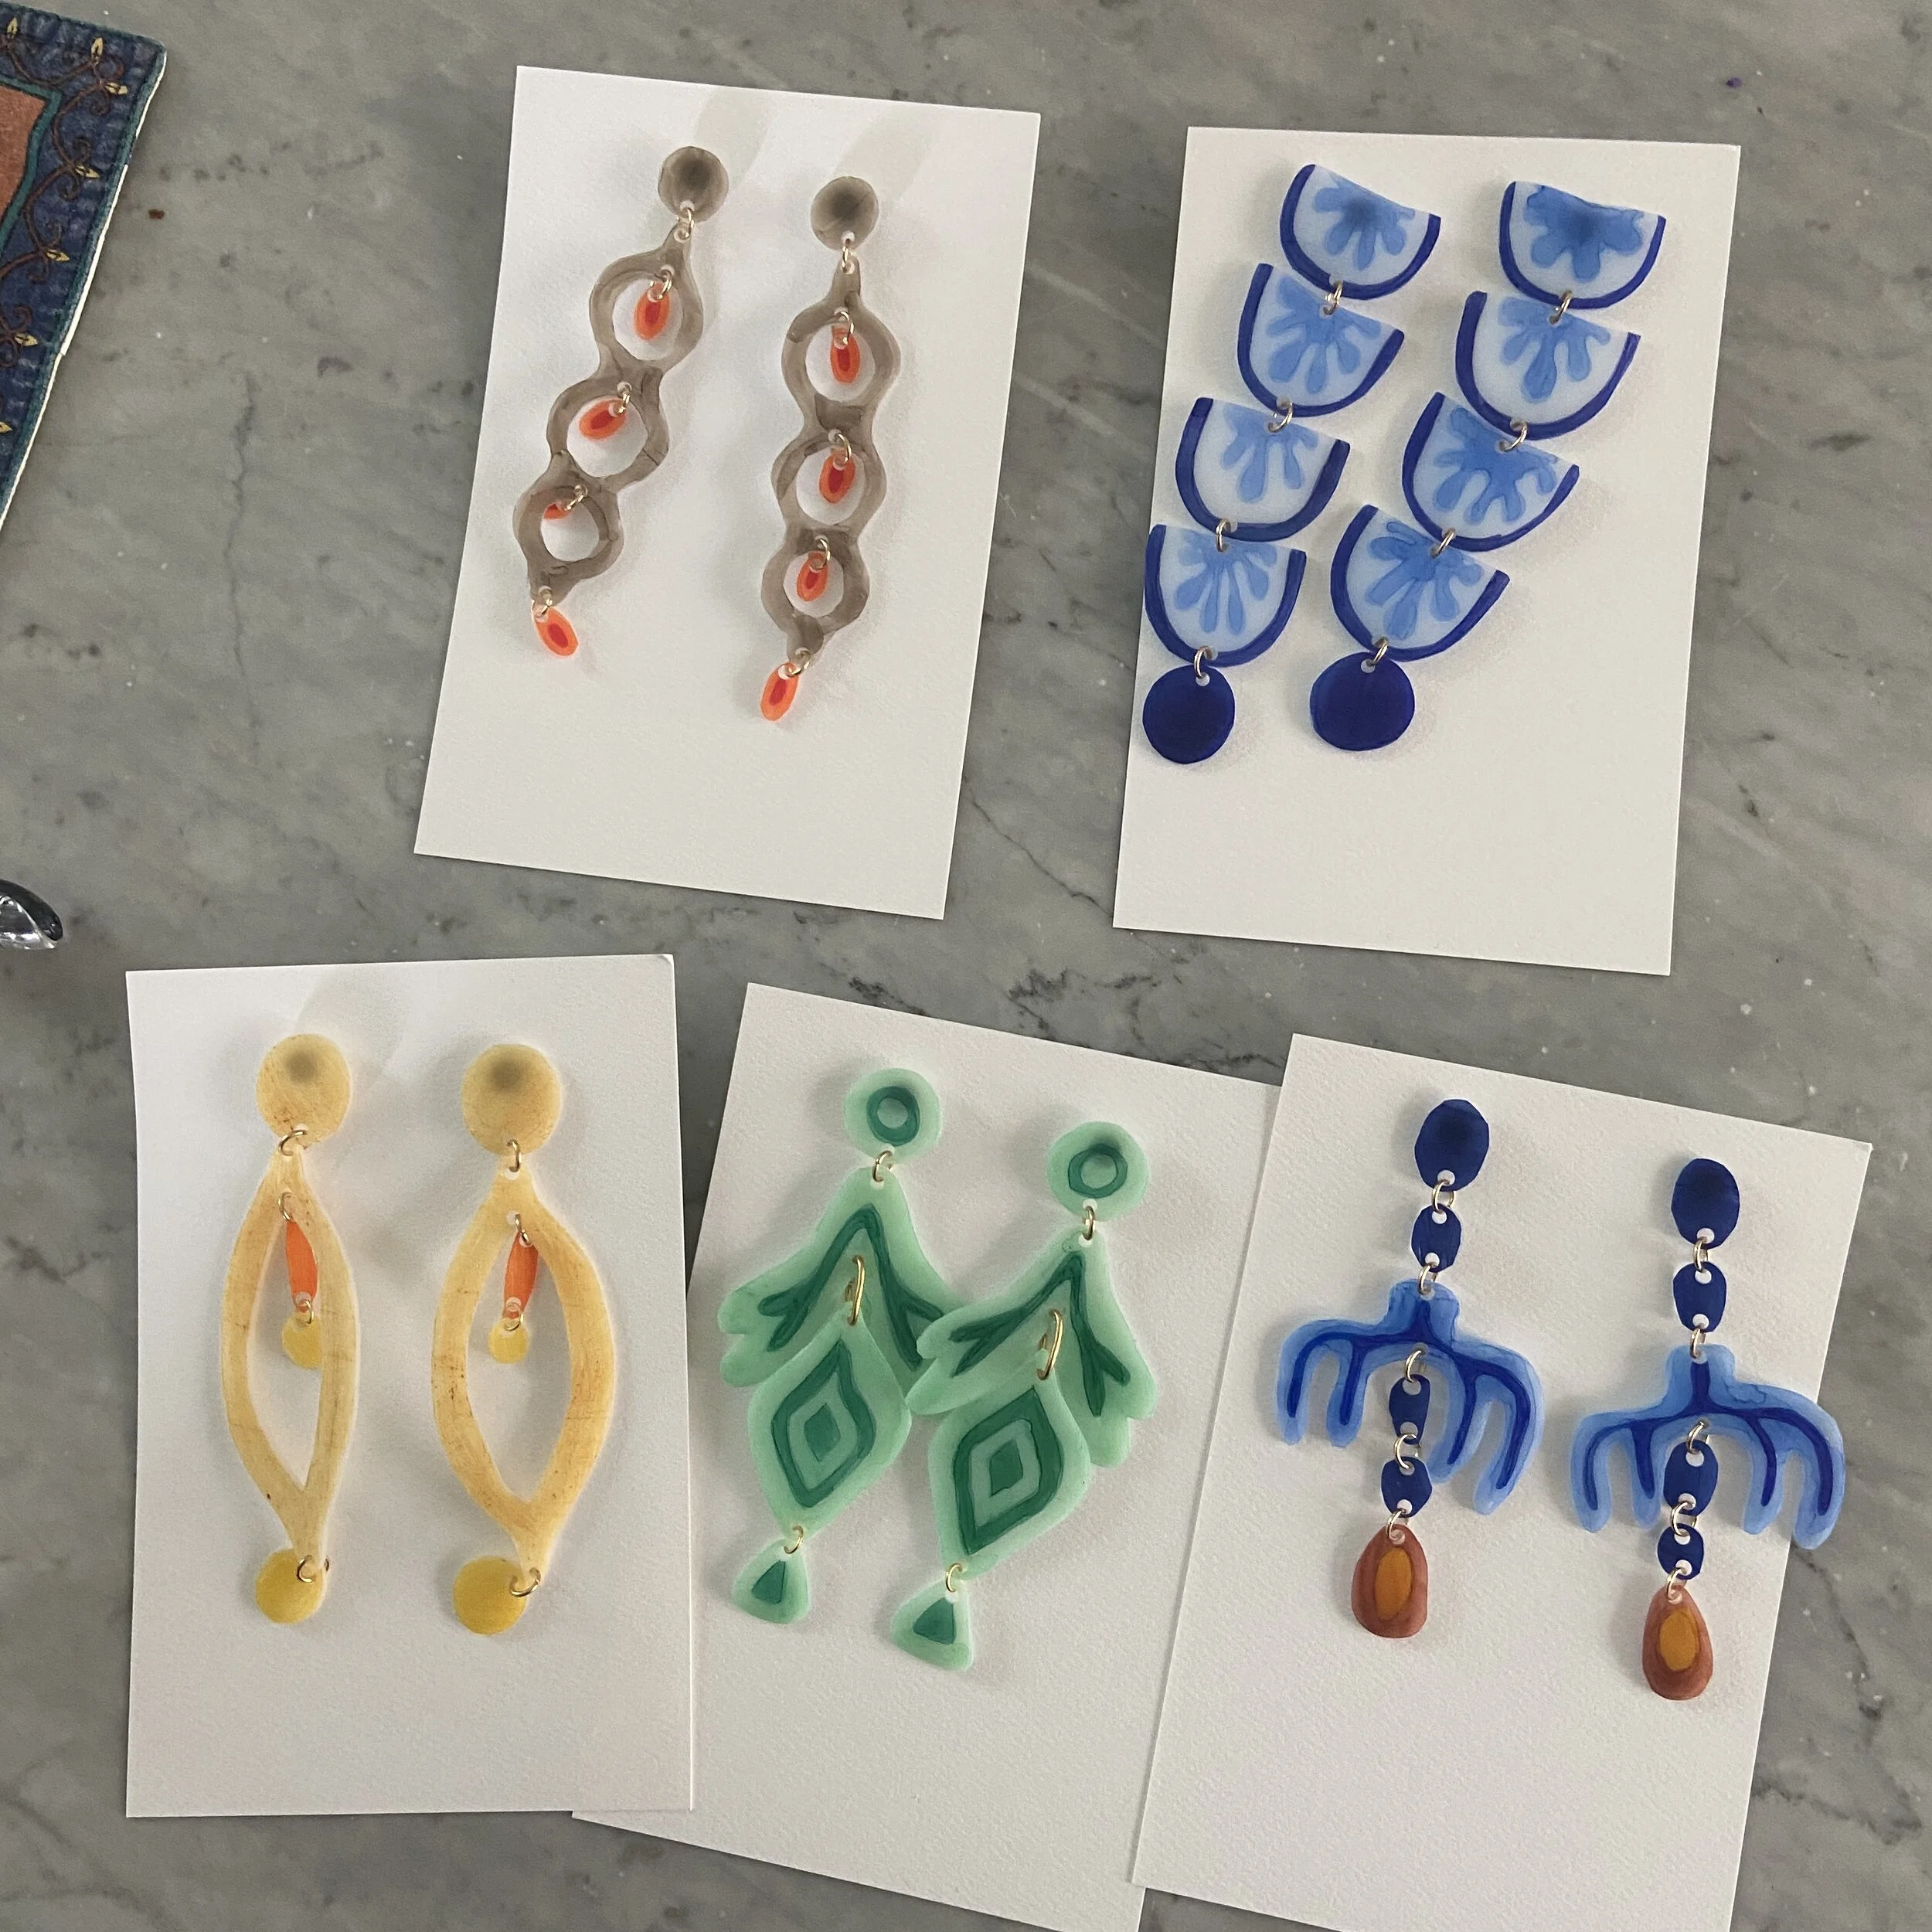
11. SEAL: I use a matte acrylic spray-sealant favored by painters and often used for acrylic paintings and pastel drawings. The stuff works like a dream but is noxious, so I line my porch with sheets of kraft paper and lay out all the earrings. I do two coats for good measure— this seals in the color and makes the earrings water-resistant (but not water-proof— please don’t wear them swimming!)— leaving about 15 minutes between each spray.
12. GLUE: When the sealant dries, it’s time for earring backs! I glue on my hypo-allergenic titanium earring posts with E6000 glue. This stuff is strong and only takes a few hours to dry.
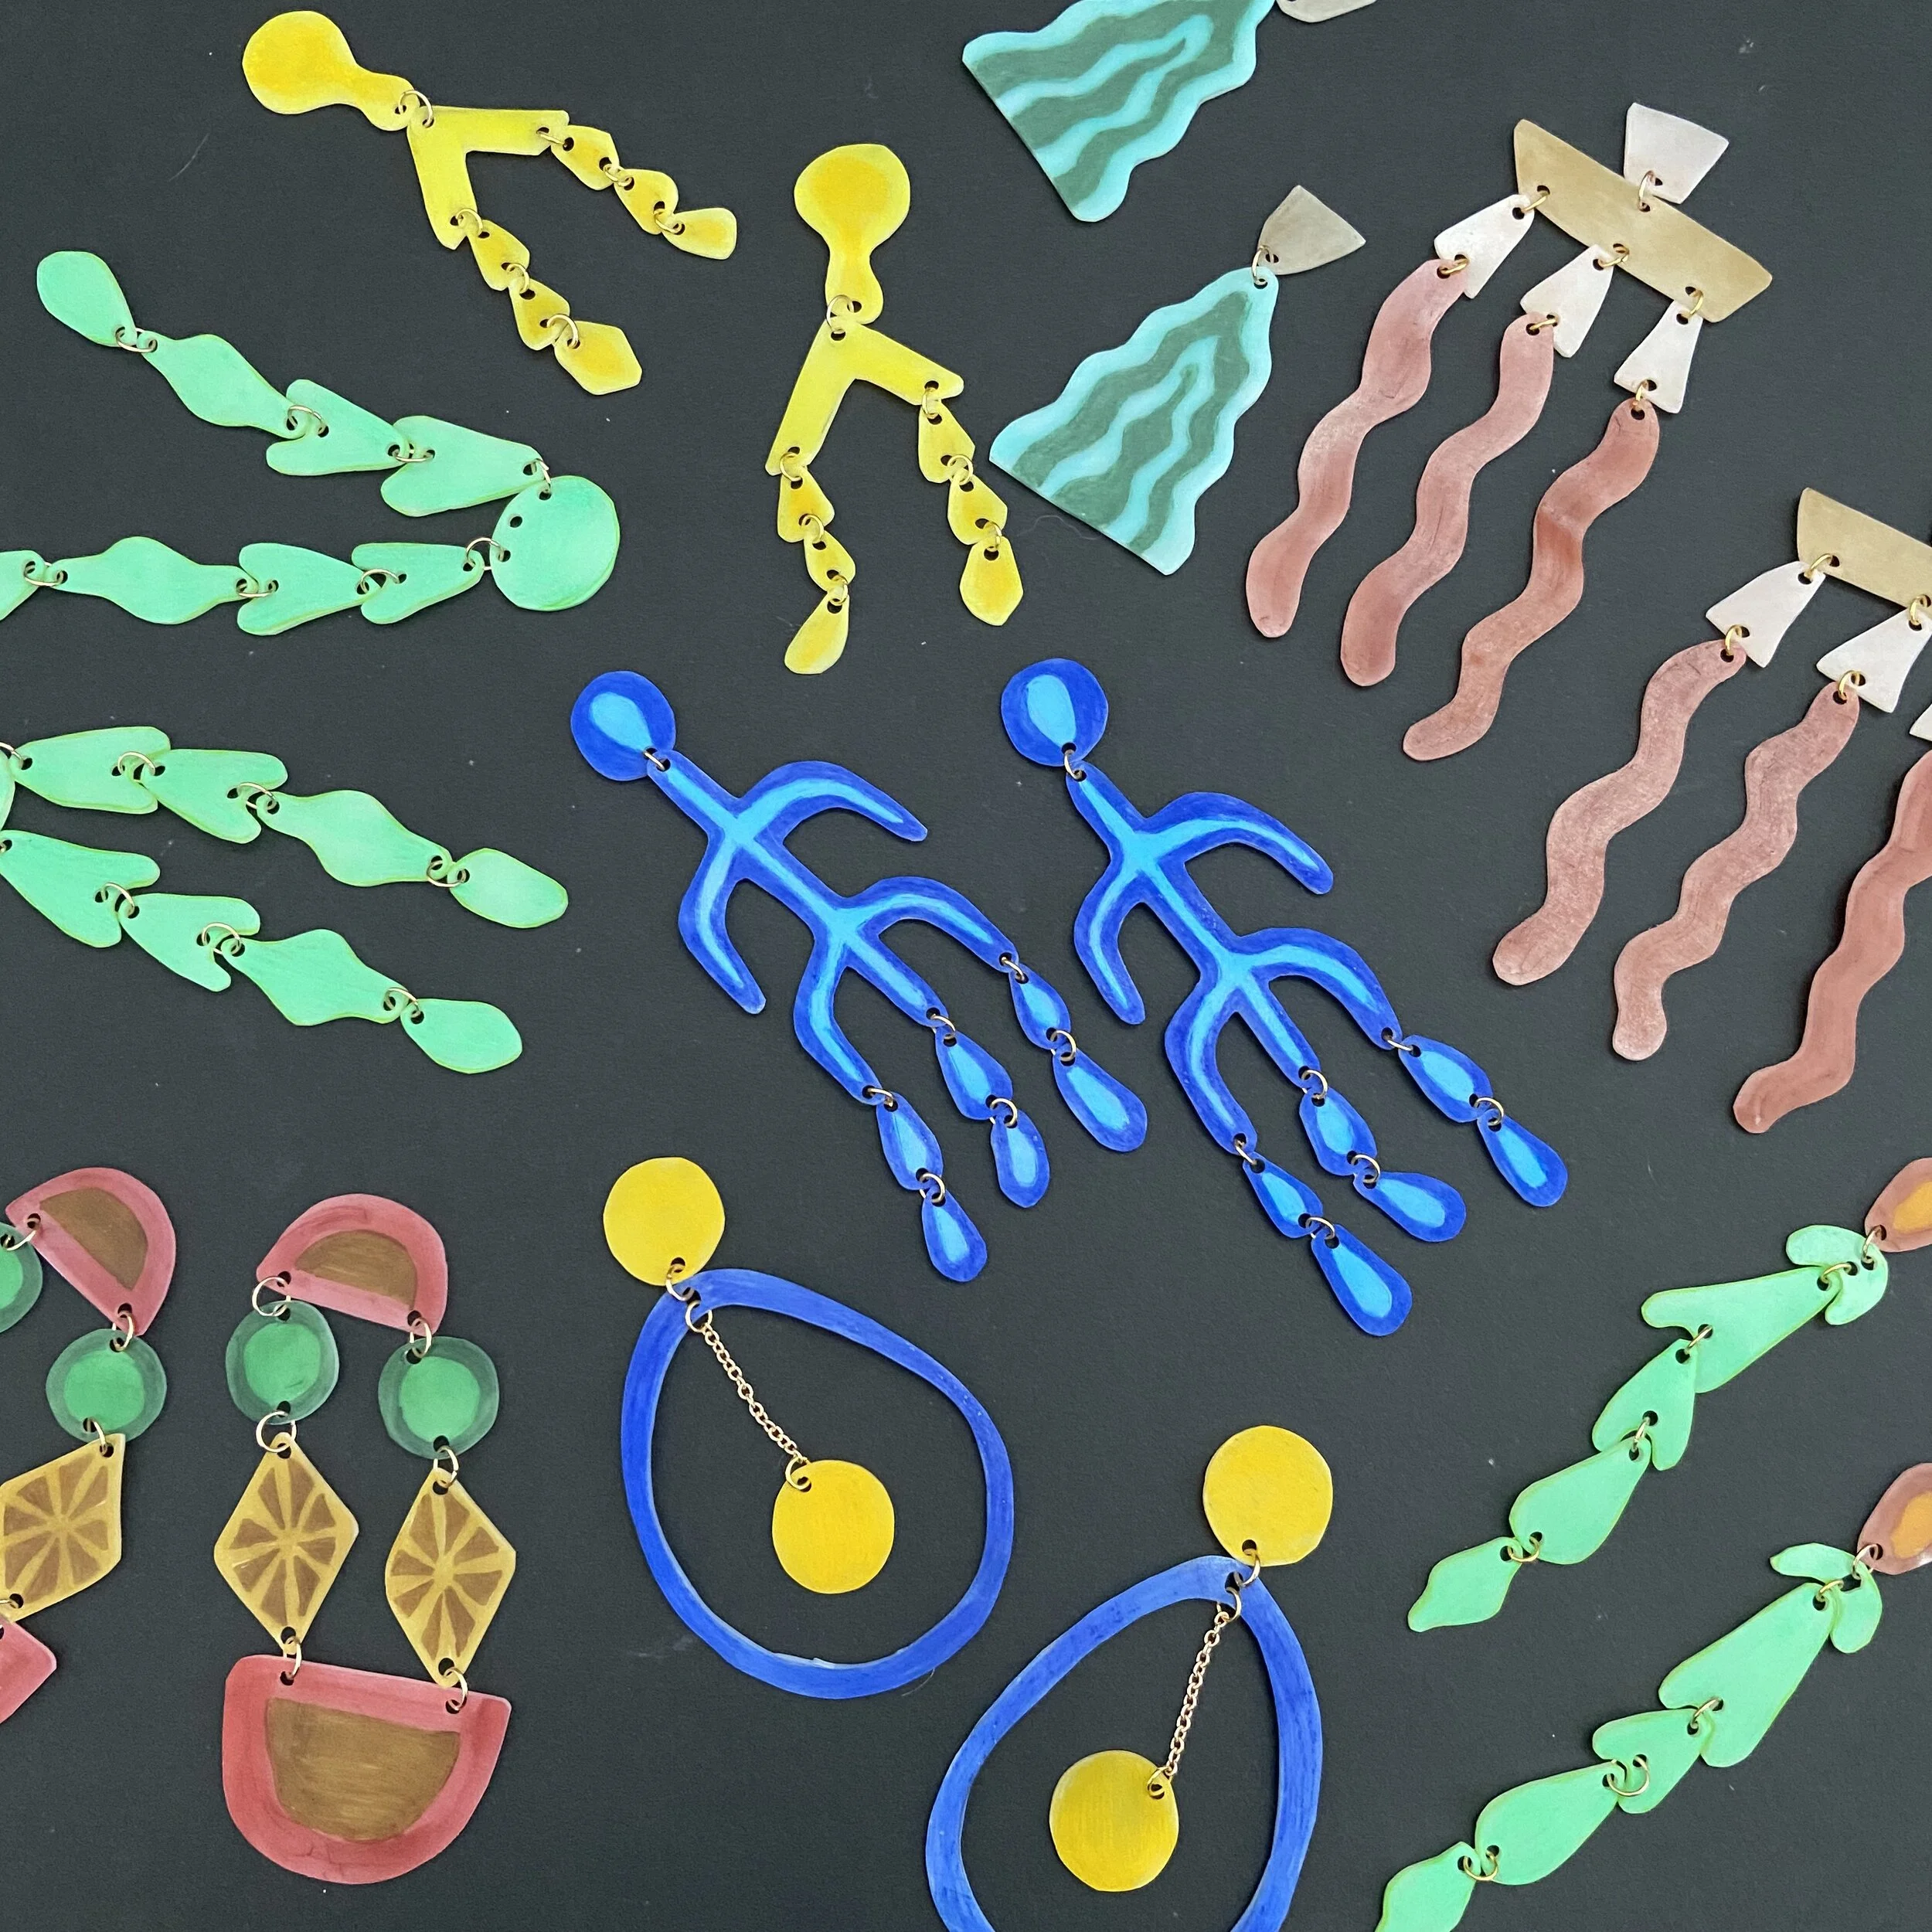
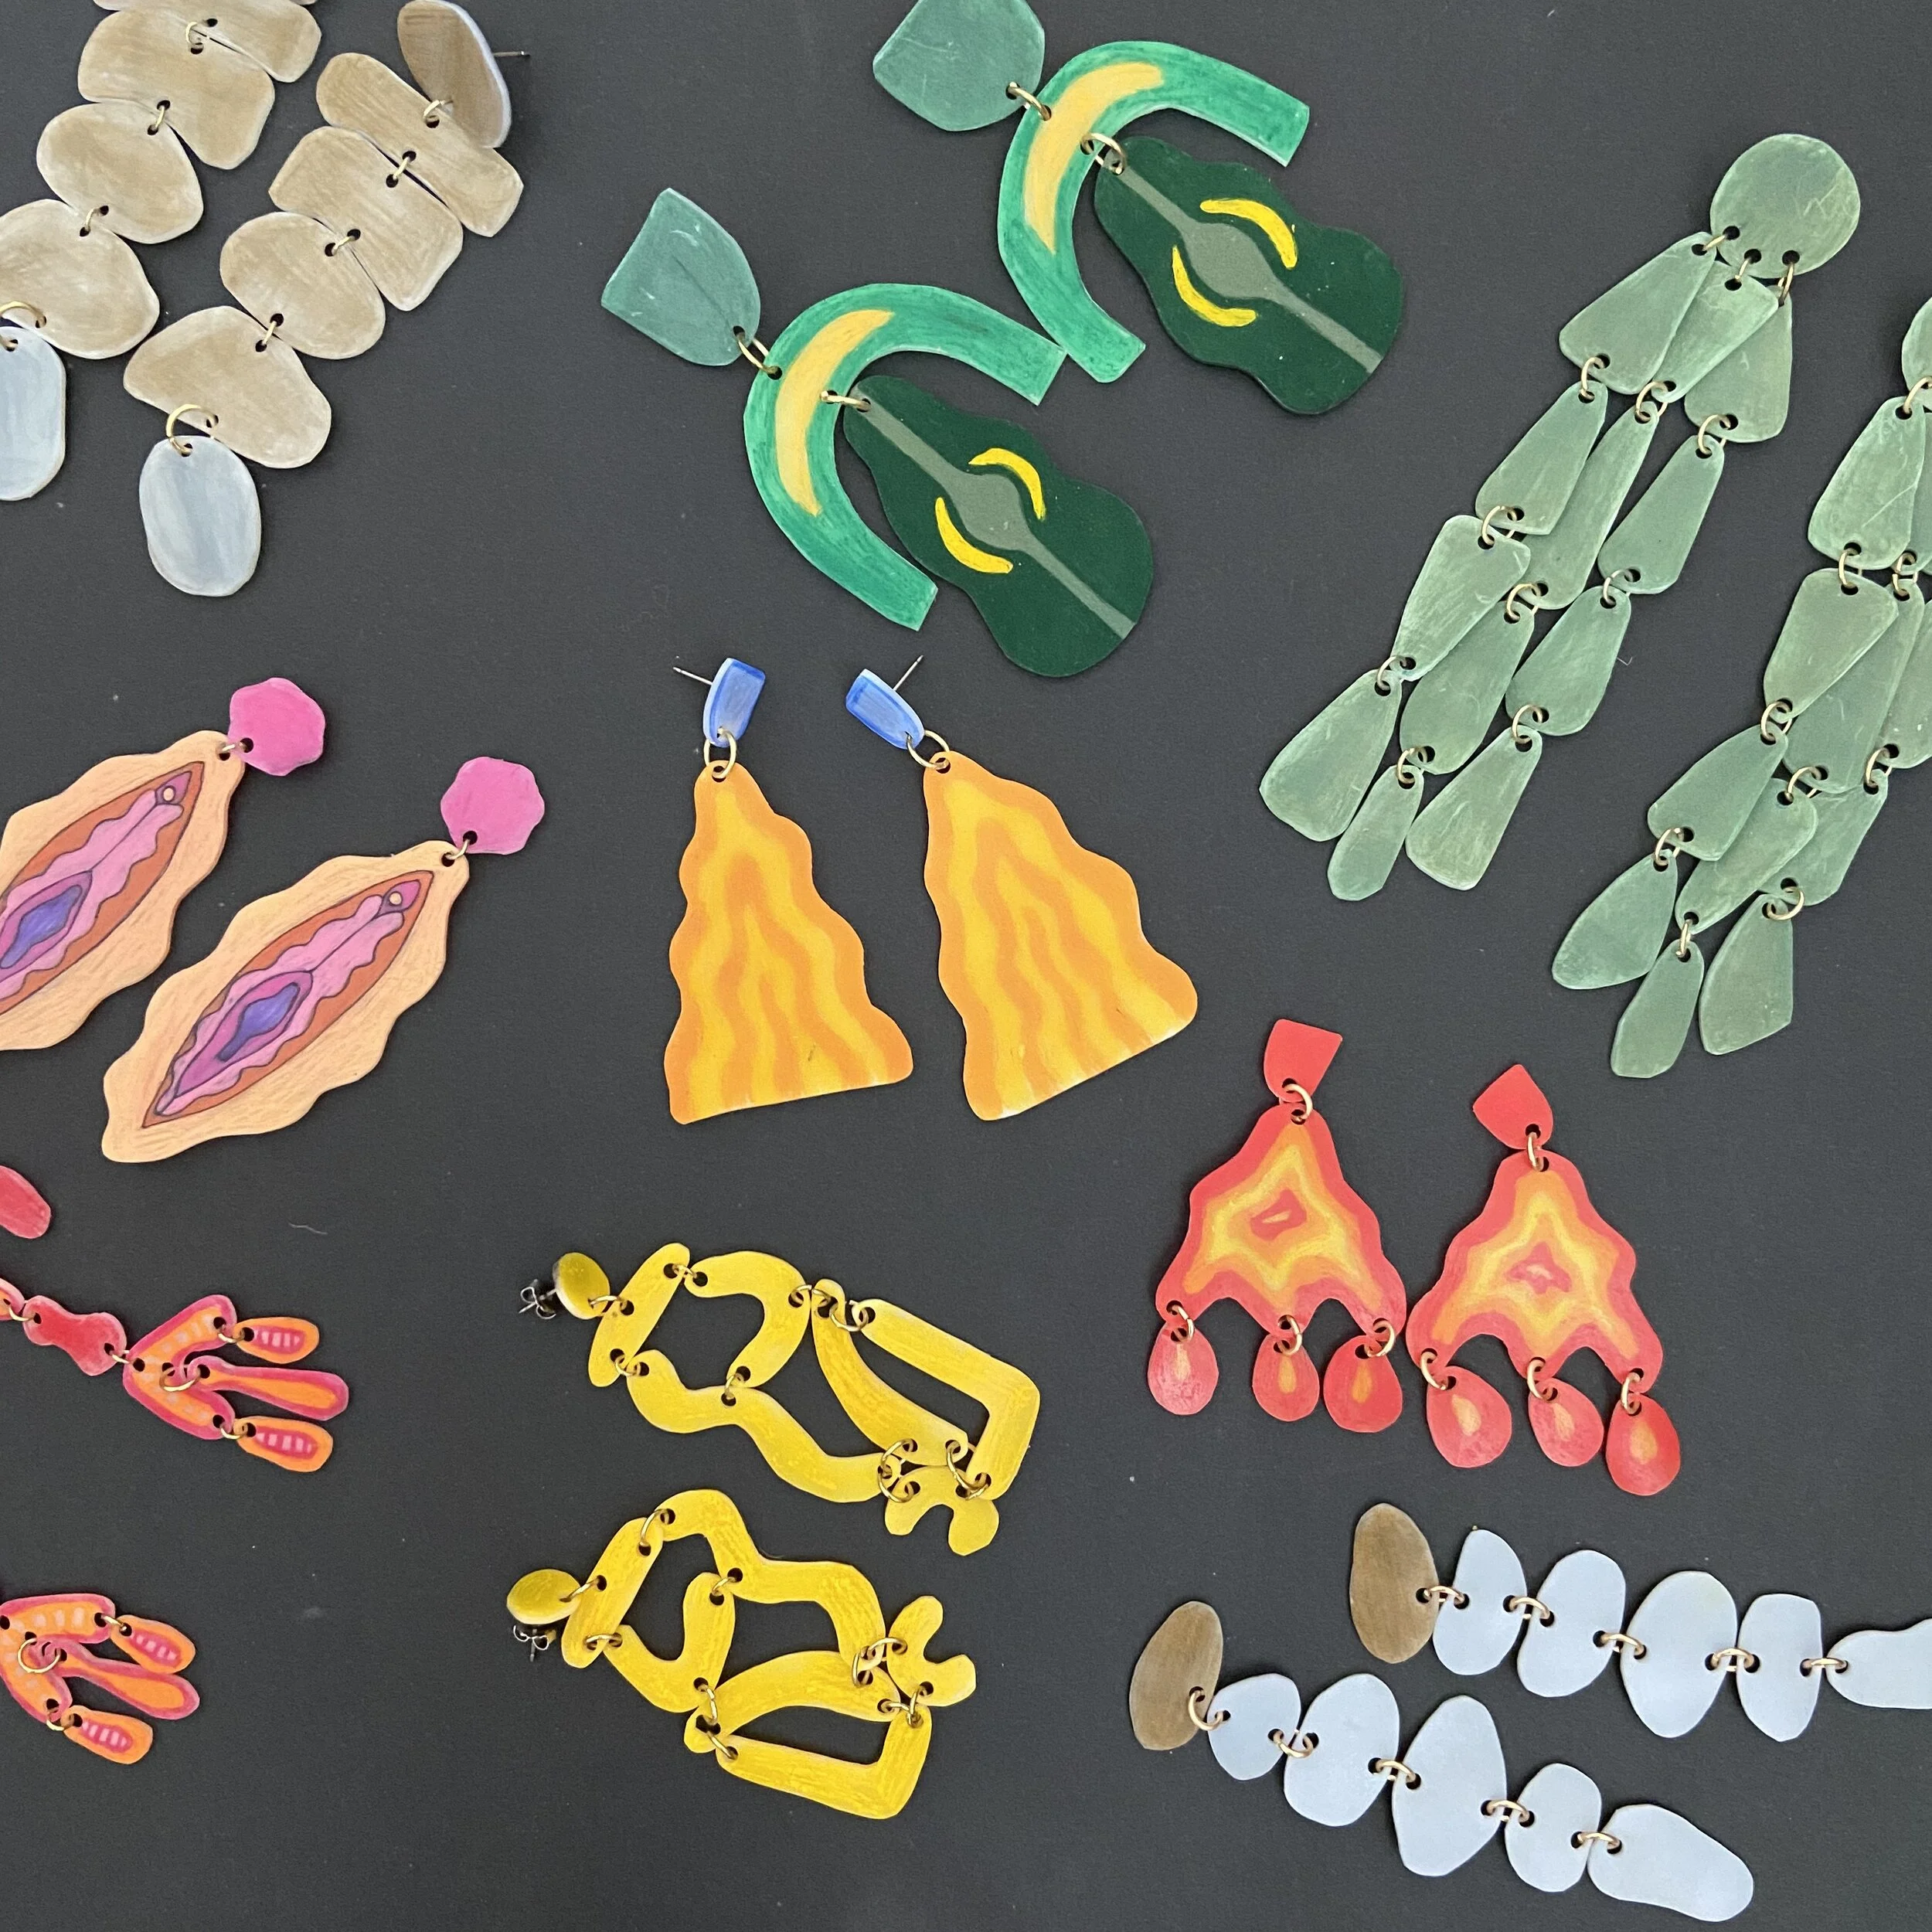
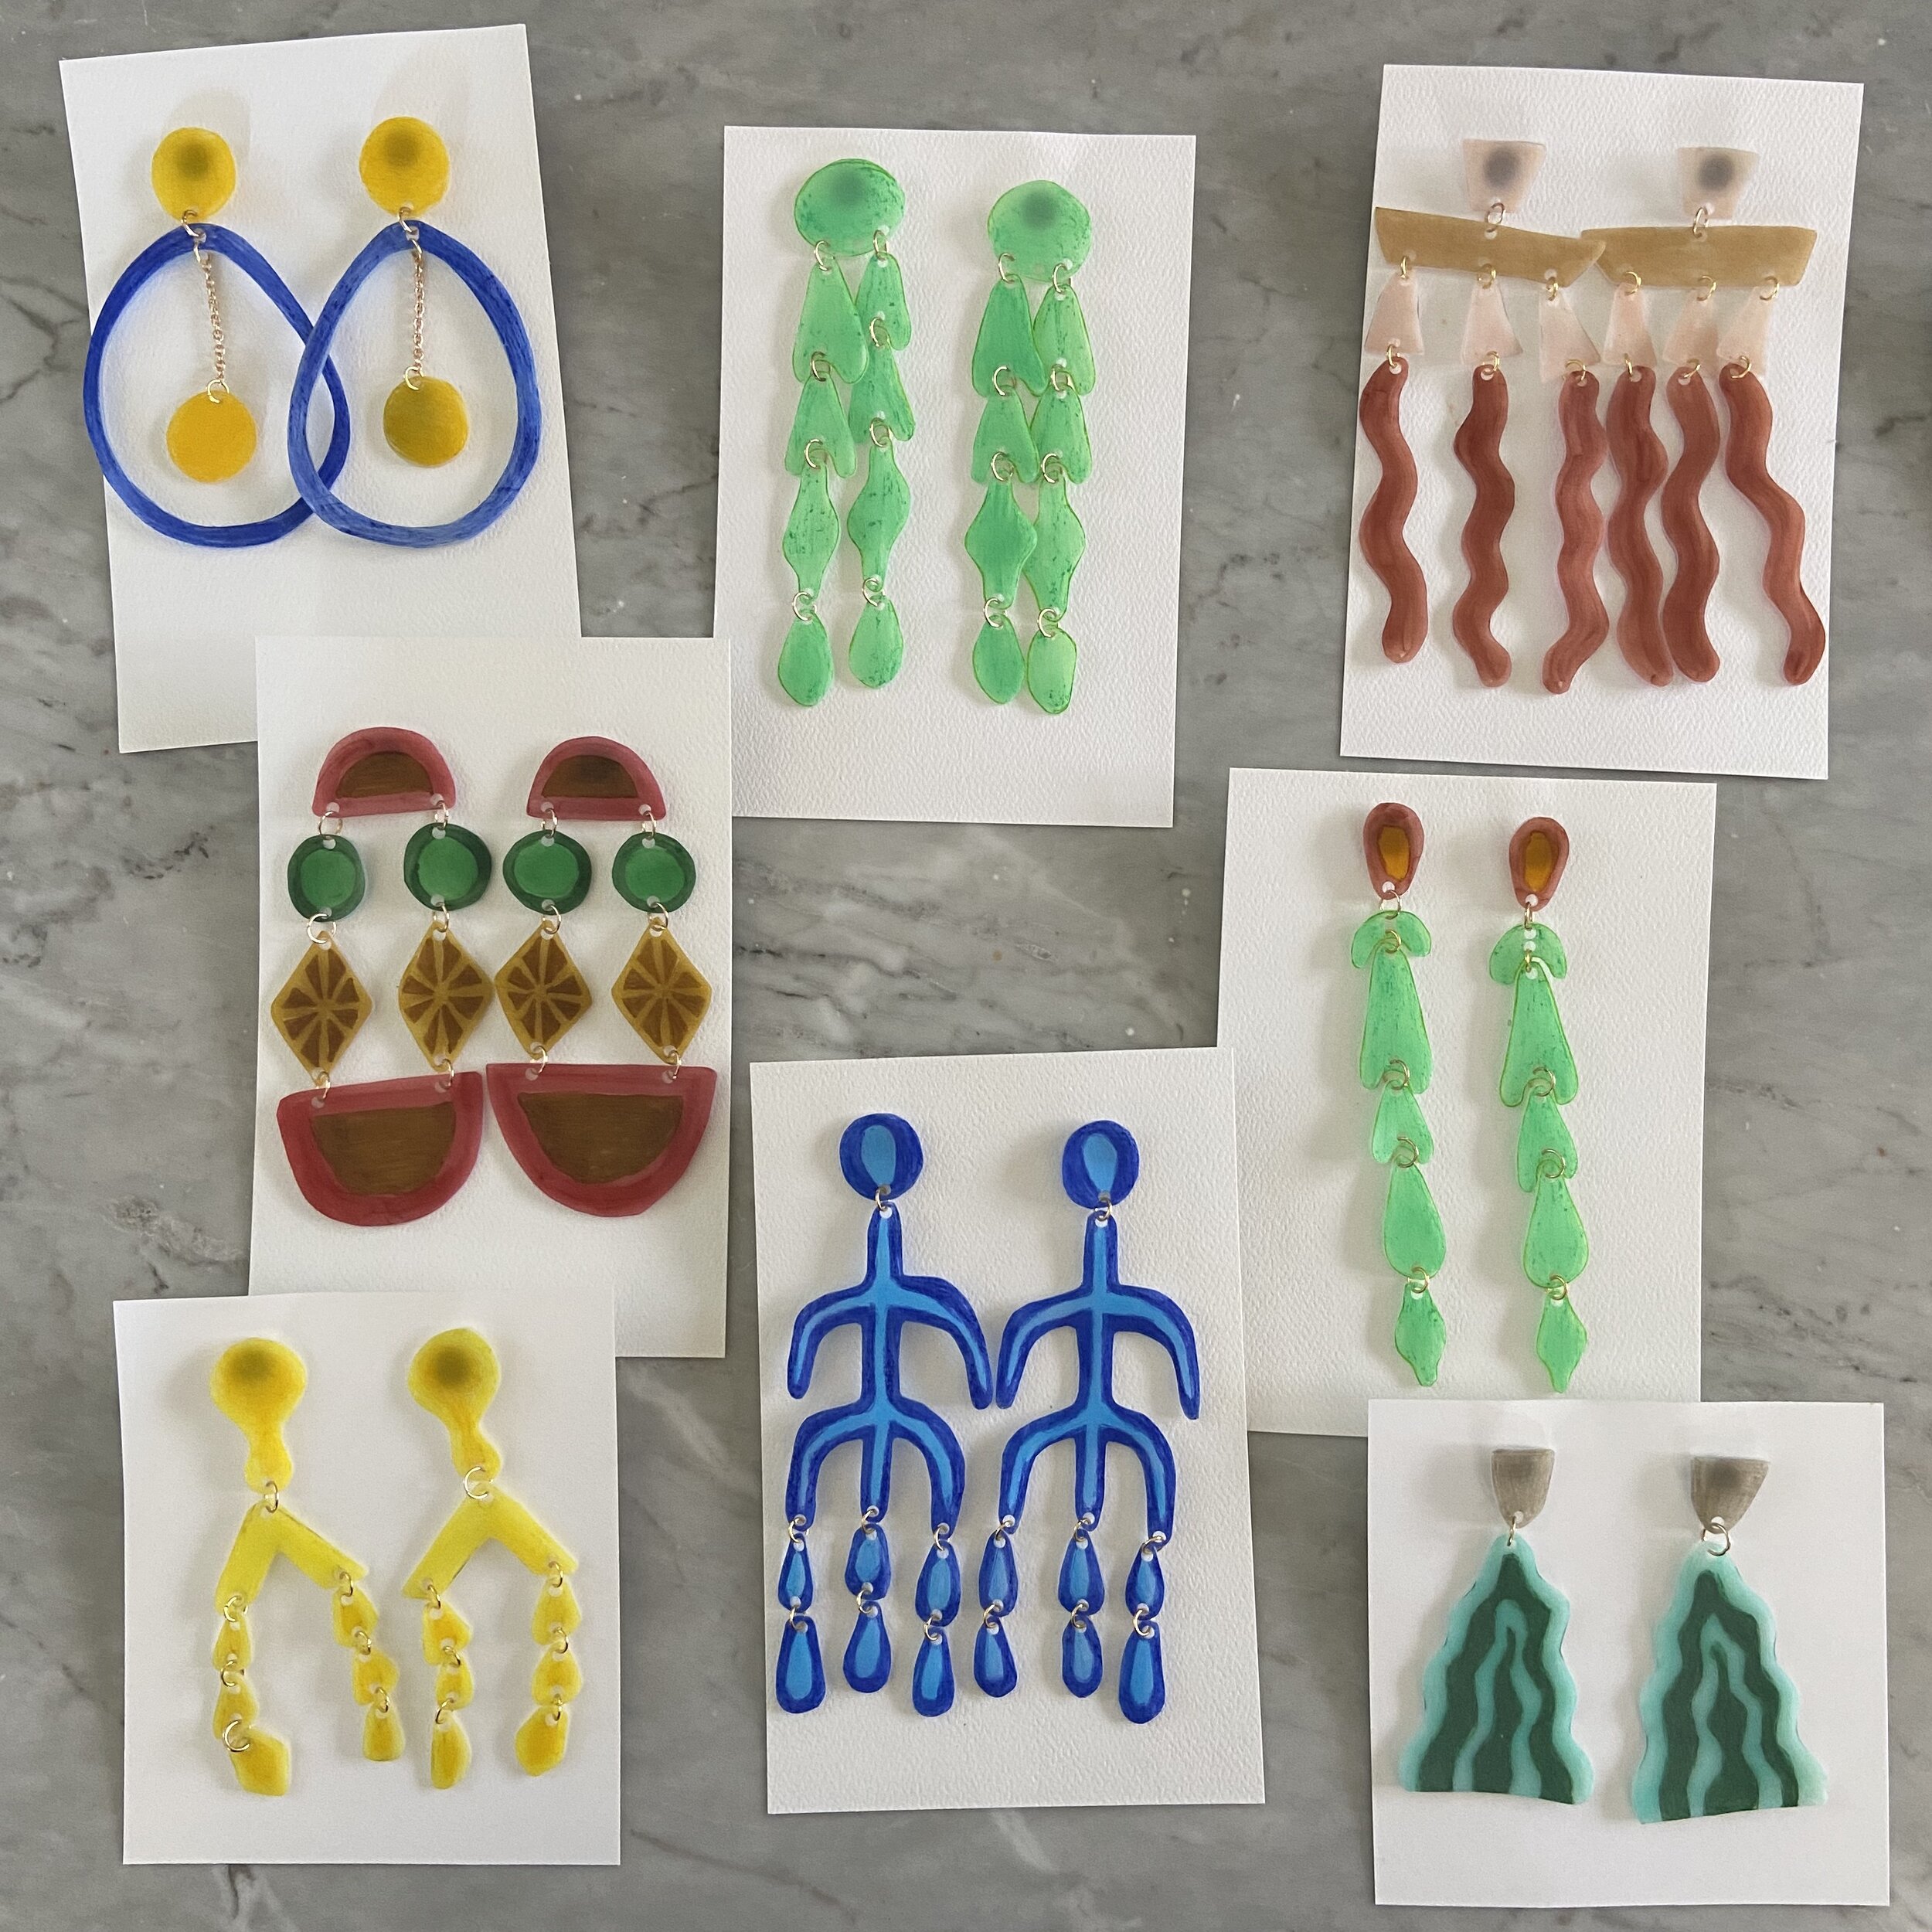
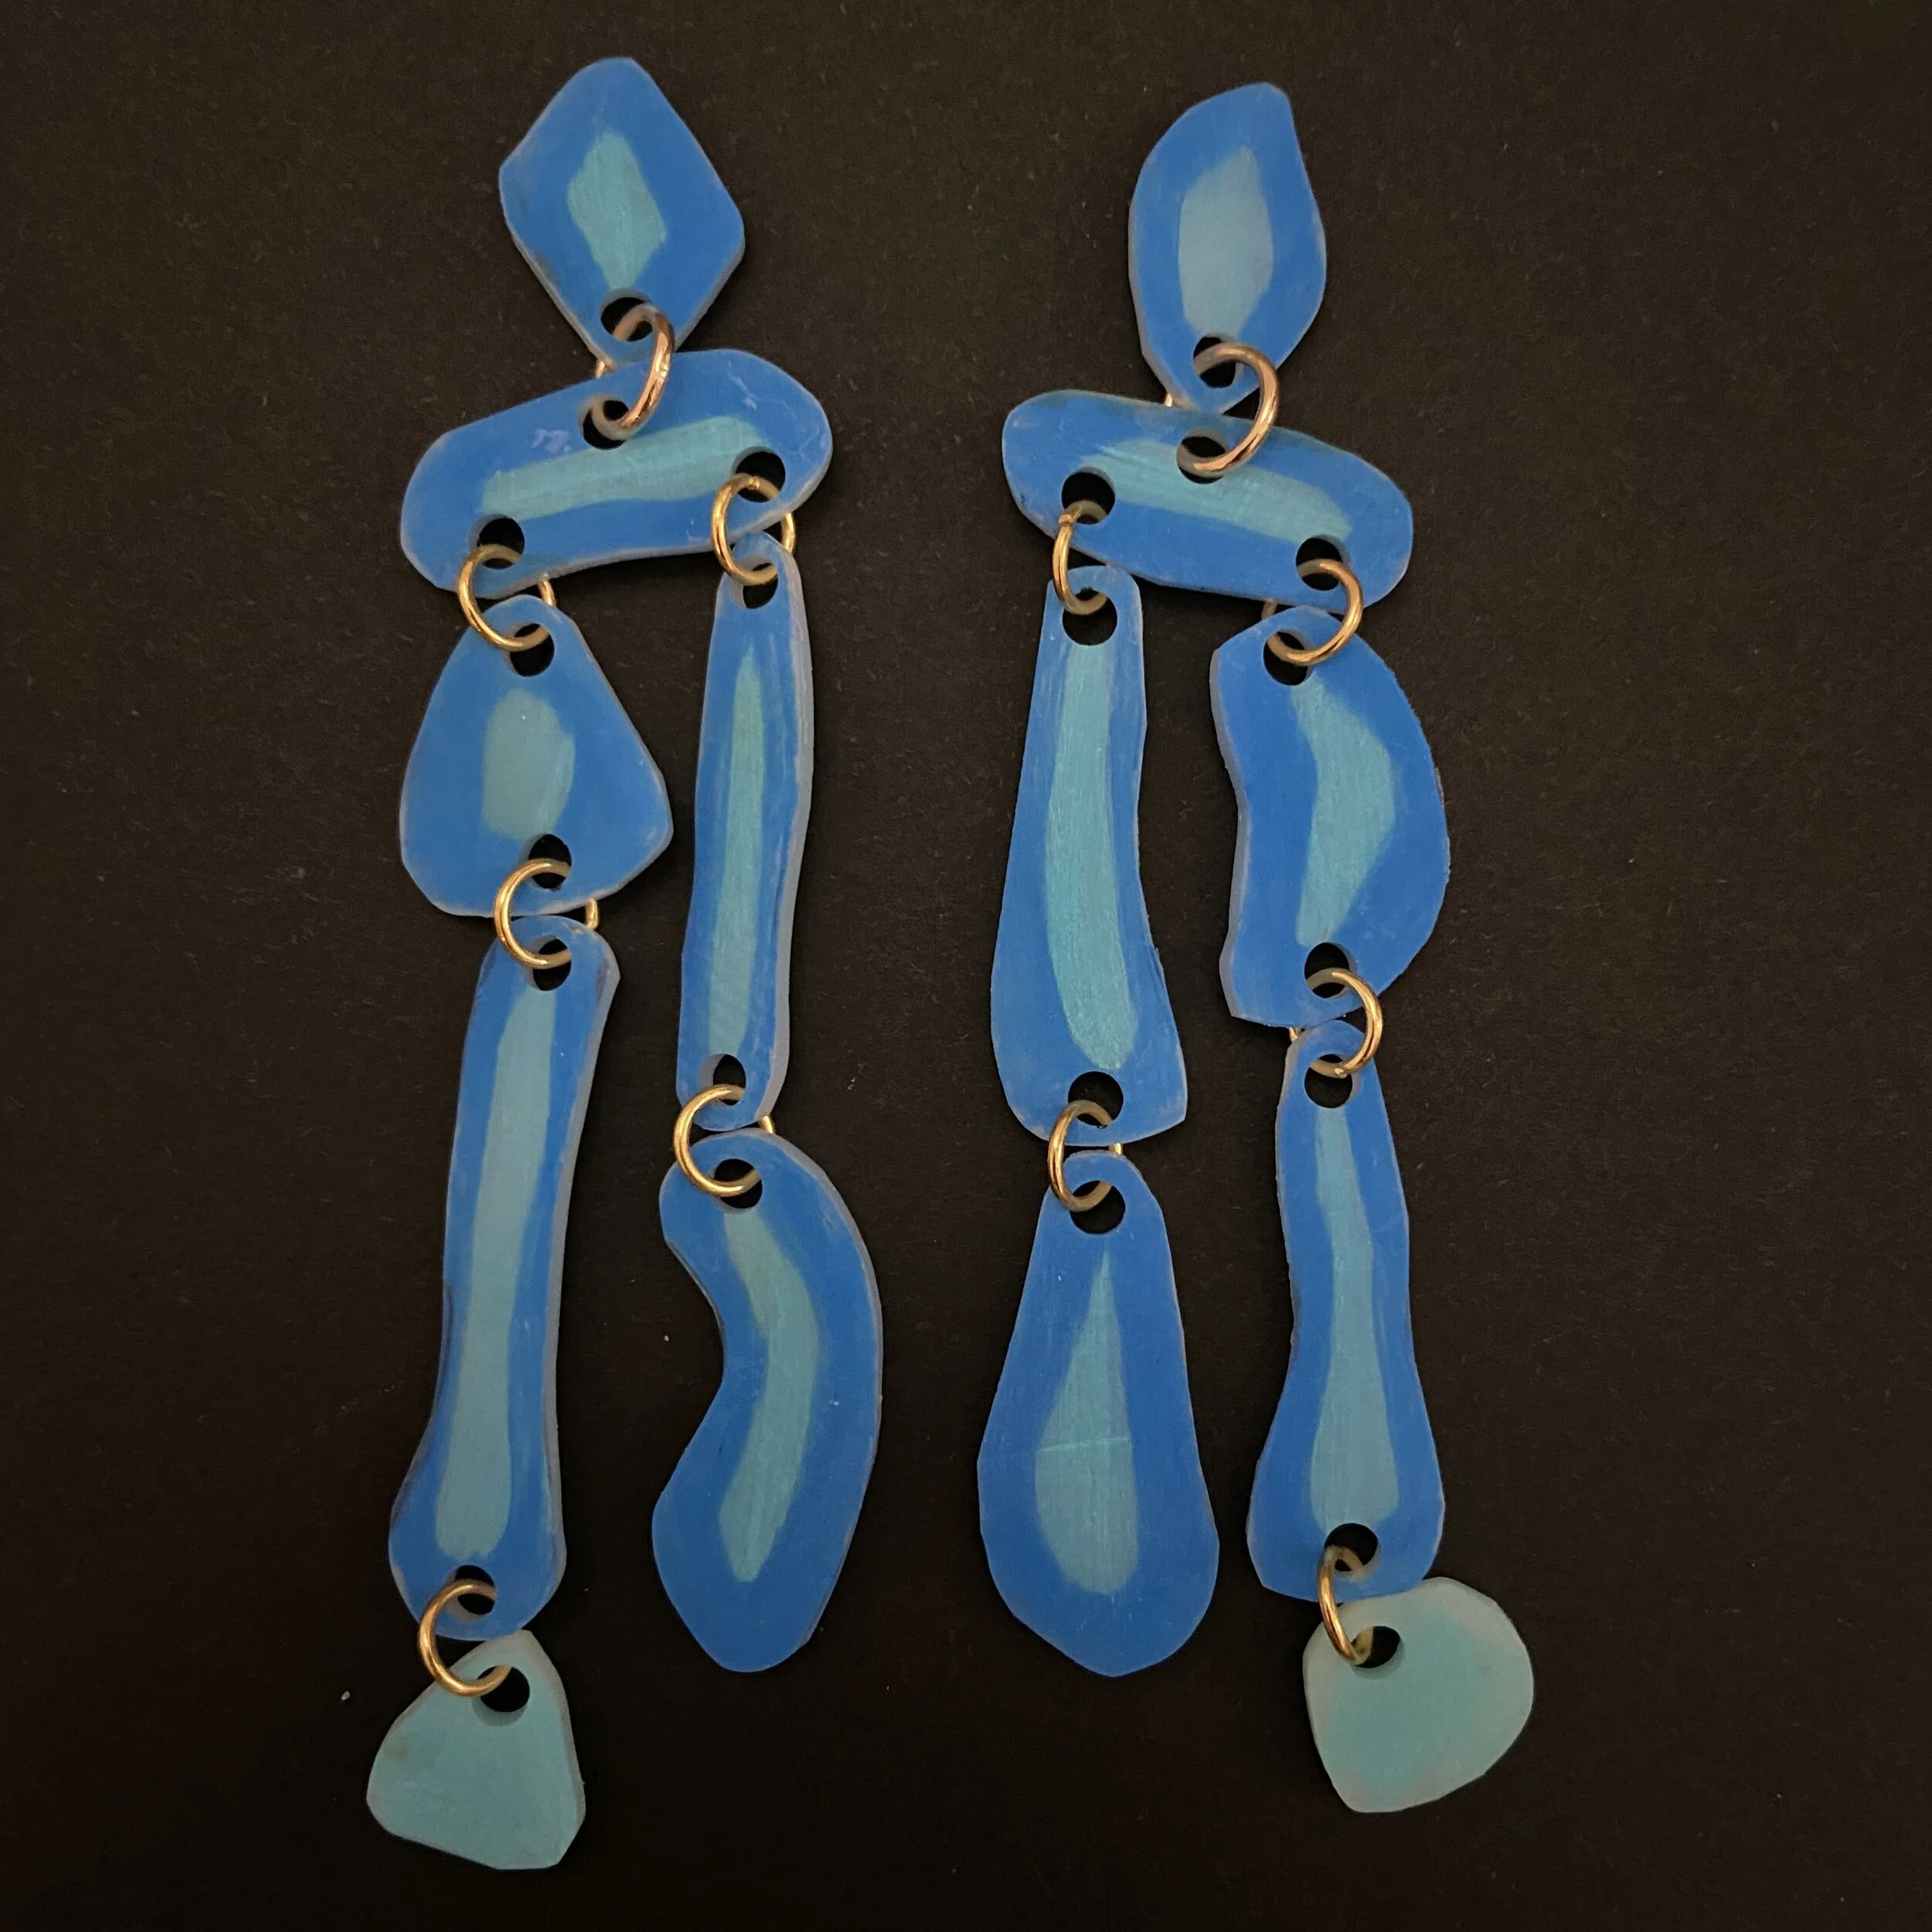
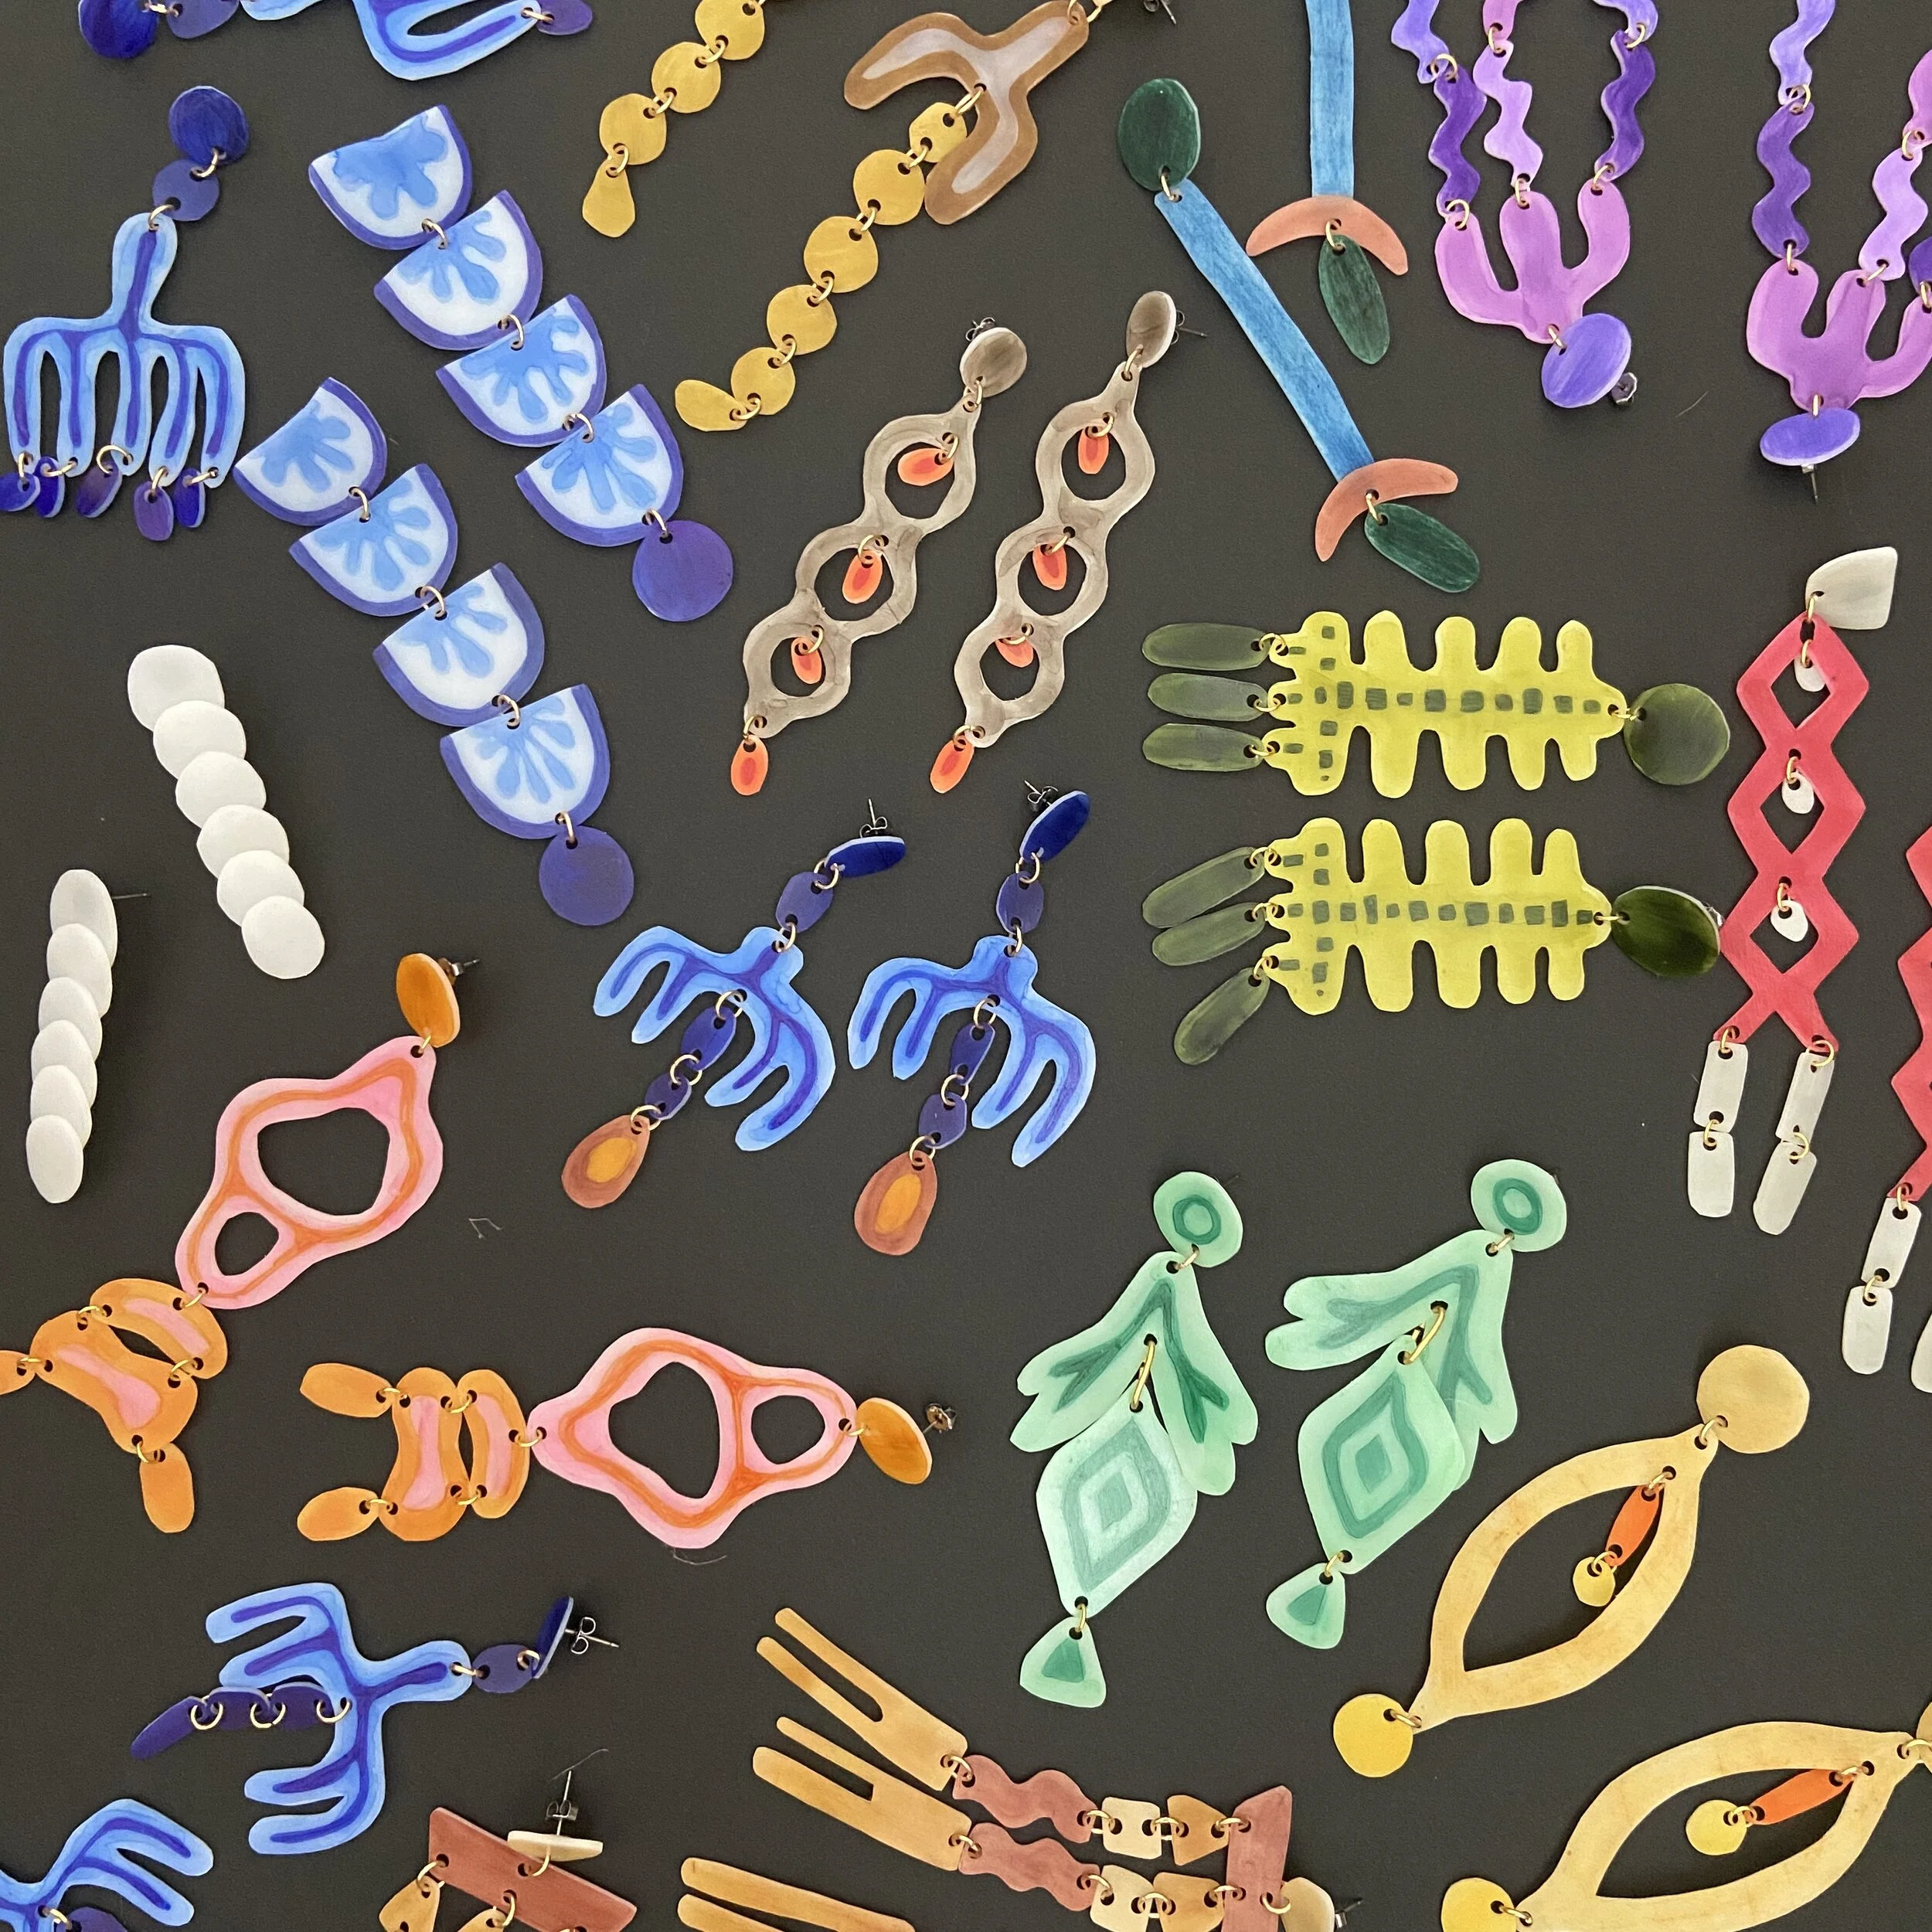
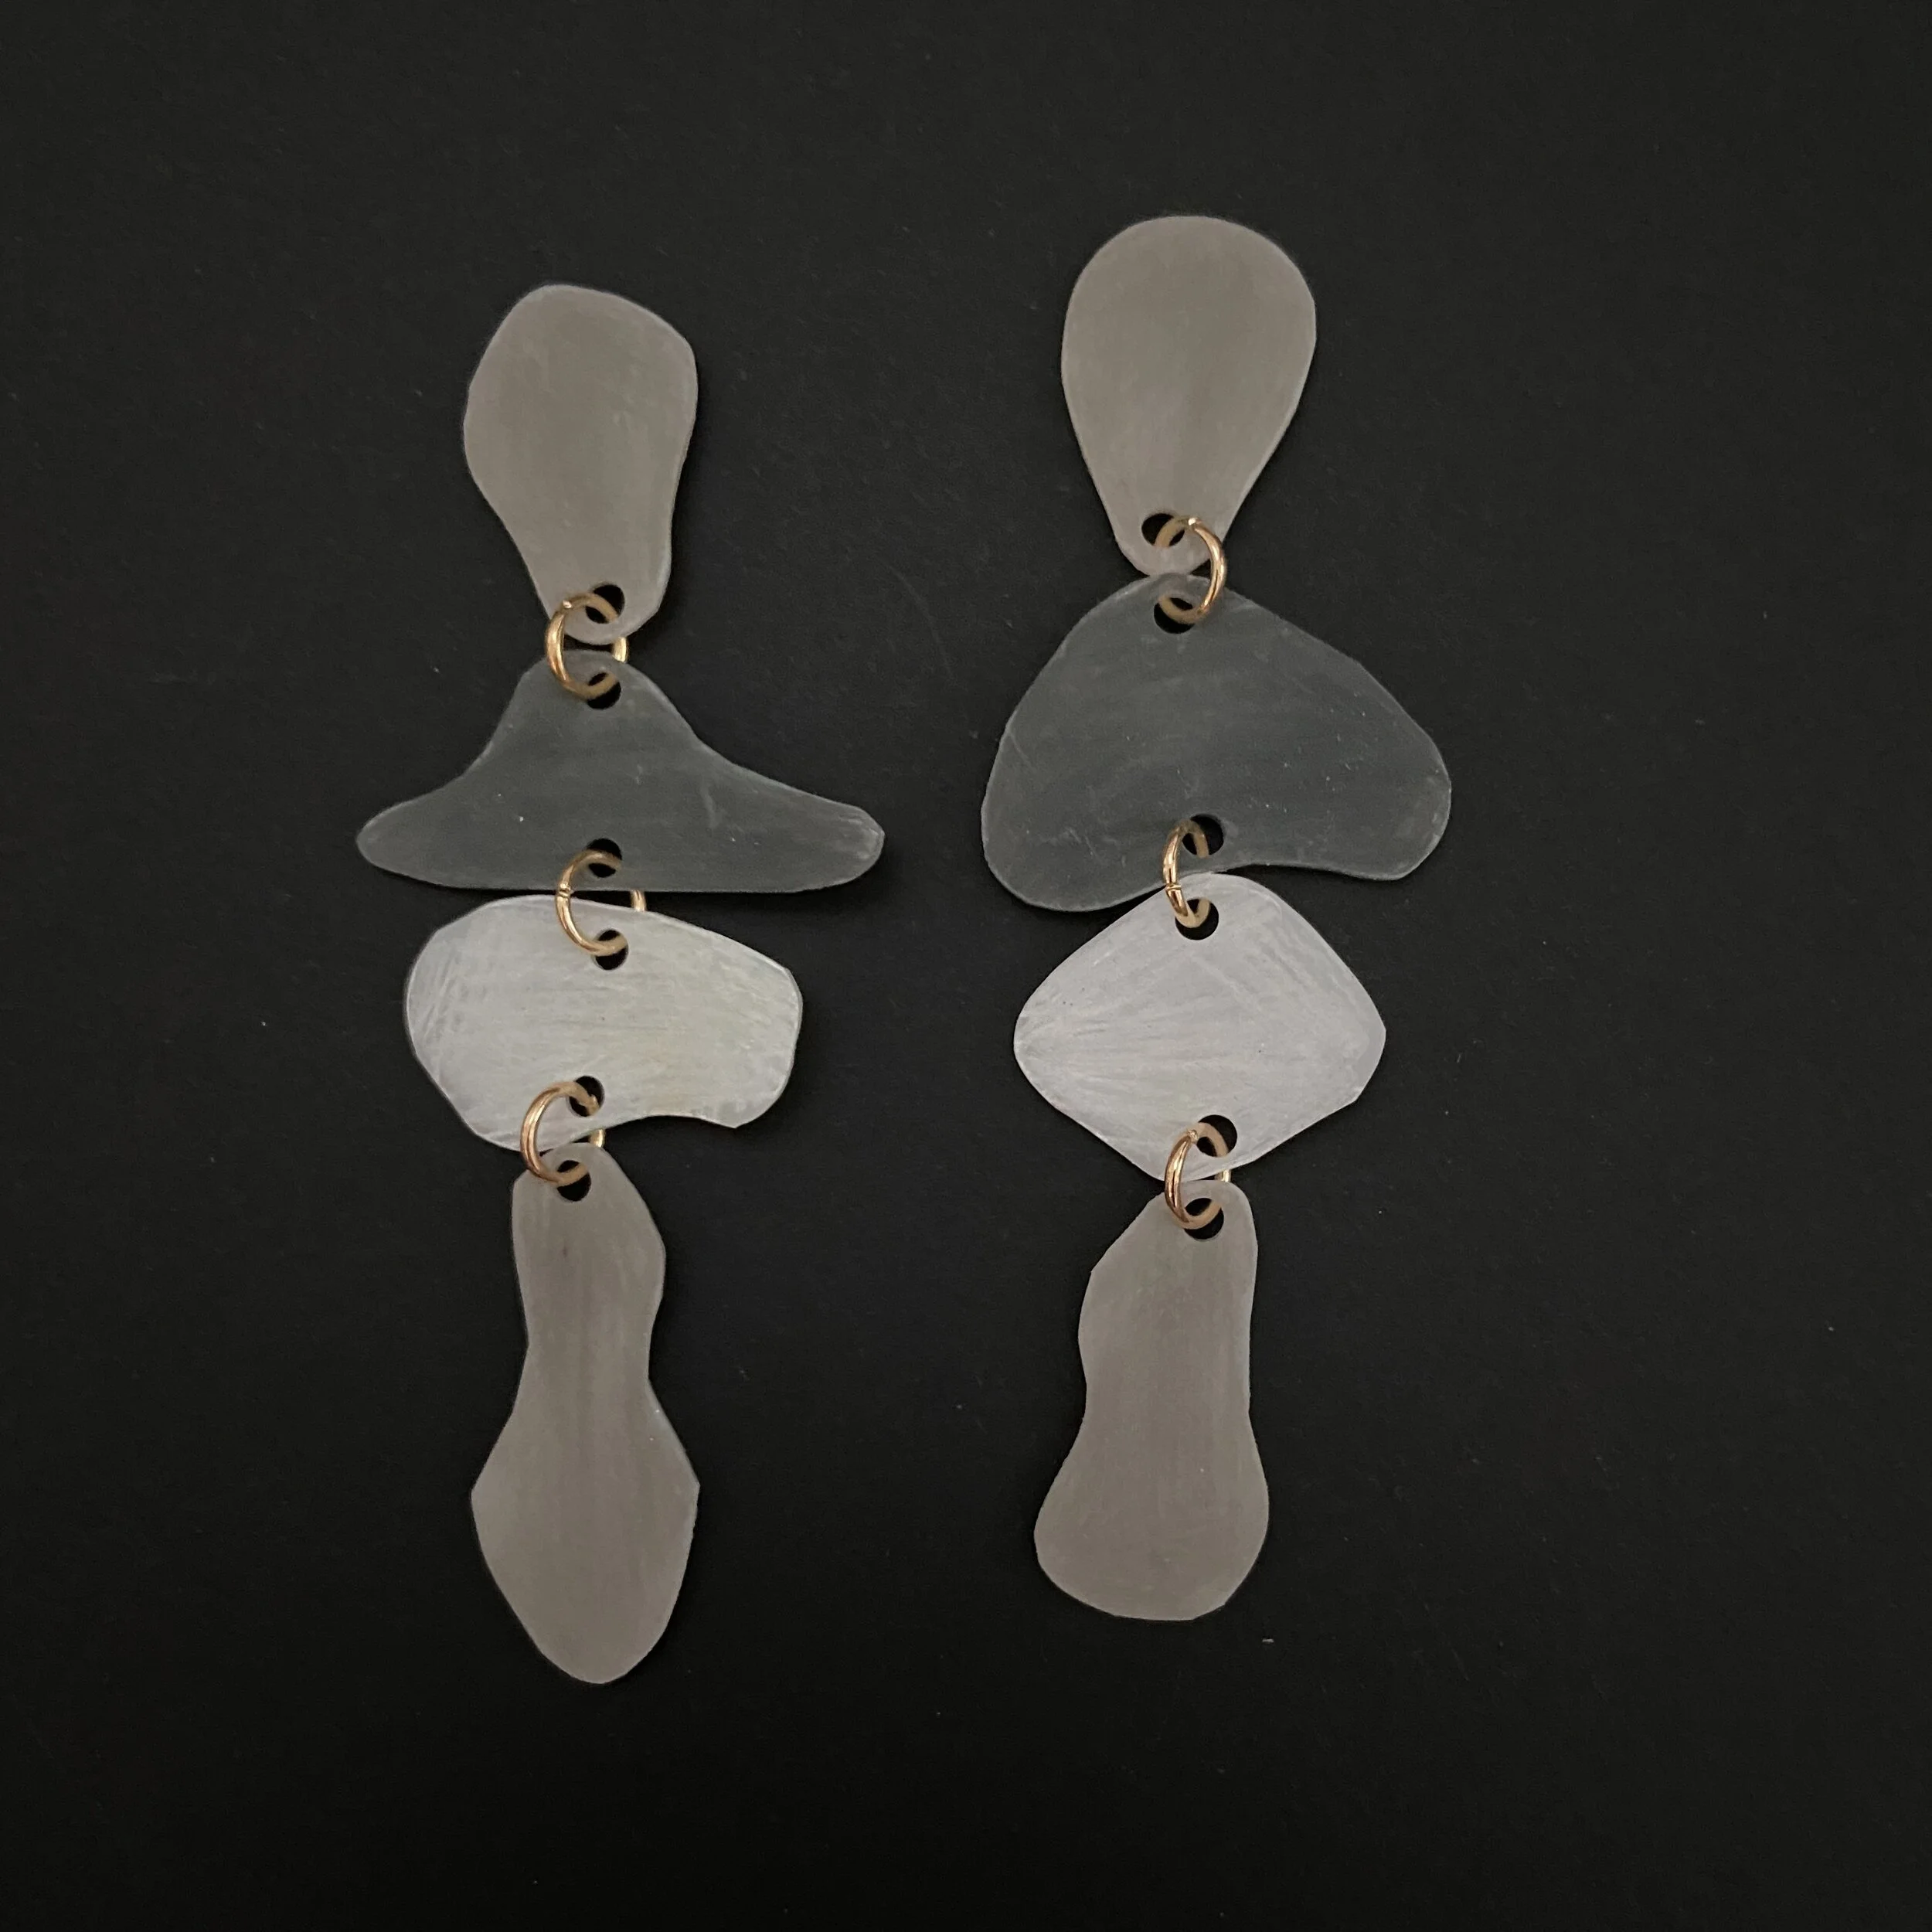
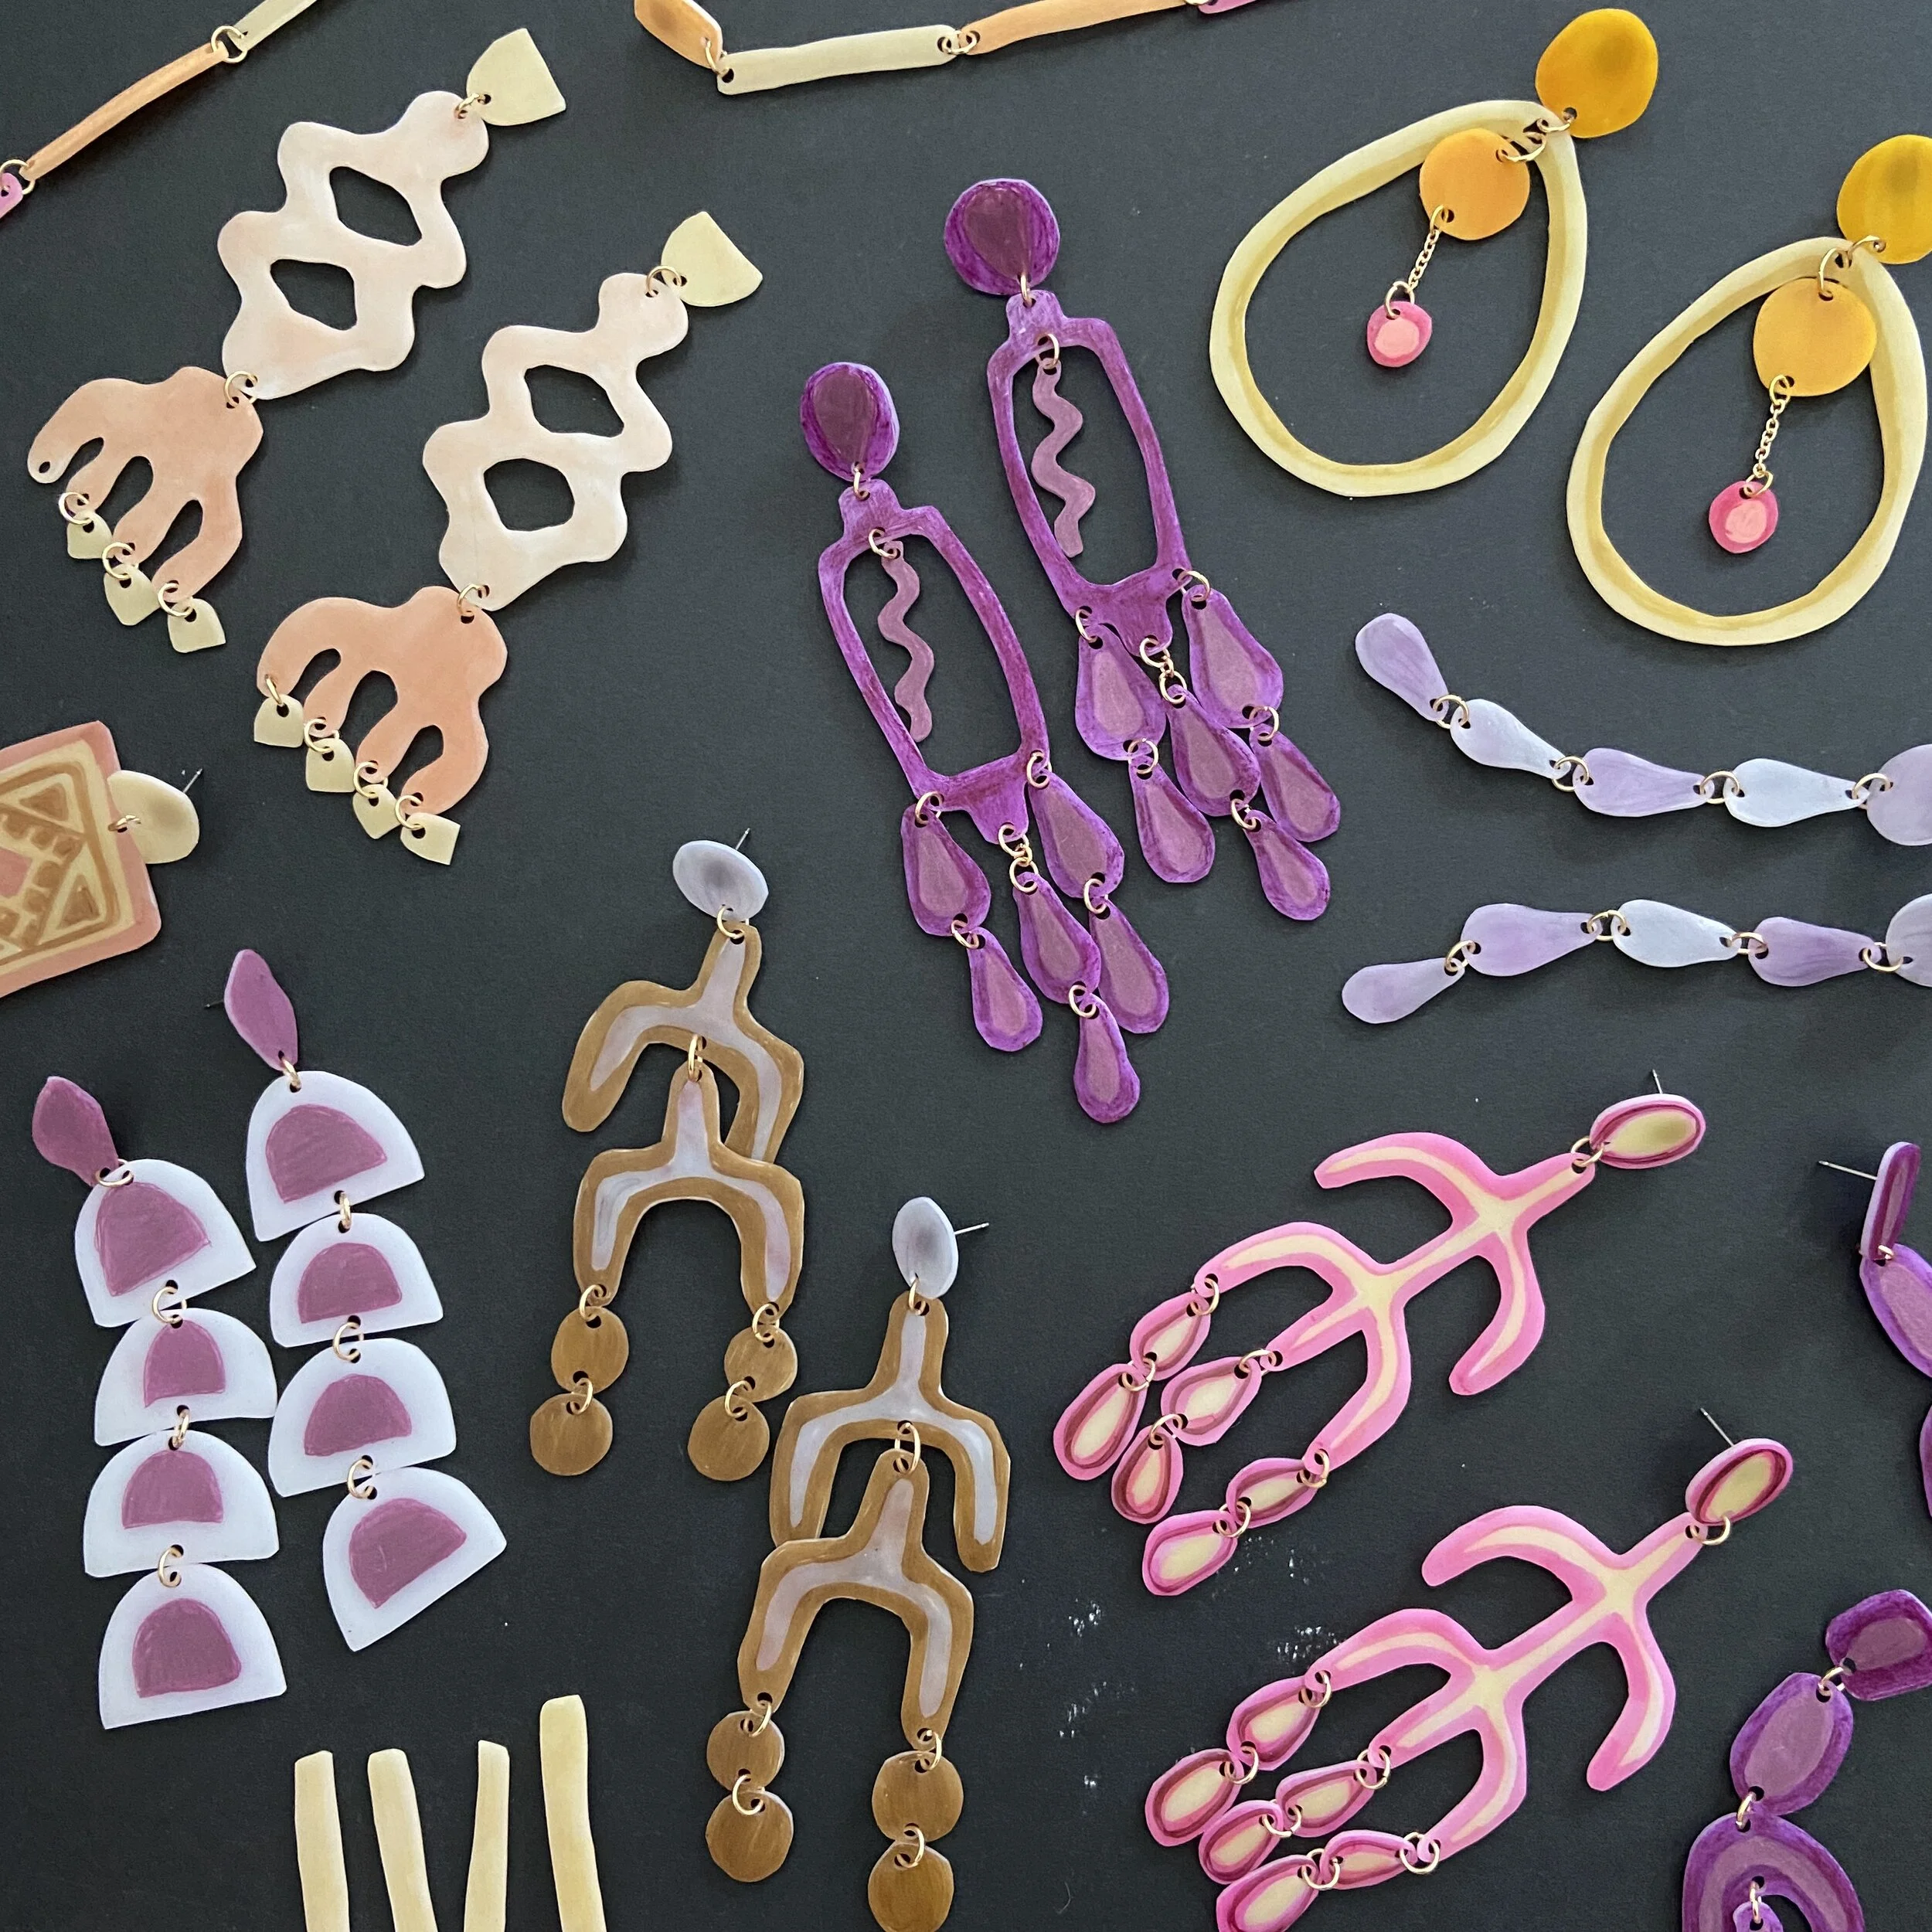
13. PHOTOGRAPH + LIST! Phew, that was a journey! Finally, I have a new batch of lovingly-crafted earrings ready to share with the world. I set about photographing them so I can share them with you. I love this part, and it’s always so fun for me to see the new “family” of earrings all together.